
How hard is it to turn an old hunting shotgun into a compact home defense shotgun? Is it cheaper than buying a new shotgun? Is the end result “just as good” as a new shotgun? We bought an old 12 gauge pump and broke out the hacksaw and Dremel to find out.
Details are in the video below, or scroll down to read the full transcript.
(There was a lot of “show, not tell” in this video while I’m going through the process of modifying the gun. Much of the transcript has been paraphrased for clarity rather than the word for word approach we normally use.)
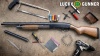
Today, we’re going to look at how I turned this old 28-inch hunting shotgun into this compact home-defense shotgun. Hello everyone, I am Chris Baker from LuckyGunner.com where you can get all the ammo you need with lightning fast shipping.
Until about a year and a half ago, the home defense shotgun was one of the best deals going. You could not find a better value in the $200 to $400 range. The quality of the ubiquitous shotguns from Mossberg, and especially Remington, has been going downhill for a while now. So if you want high quality on a budget, the standard advice from defensive shotgun aficionados has been to look for an older used model from back in the days when the manufacturing standards were a little higher.
It was not at all uncommon to find old police trade-in Mossbergs or Remingtons online for under $300. When those were not available, you could usually walk into just about any gun shop and get a used 870 Wingmaster in good shape for about the same price. Replace the barrel with a shorter one and you’d have a really nice home-defense shotgun that should last for decades of regular use.
But then we got the gun-buying frenzy of 2020 and within a couple of months, all those old shotguns disappeared from store shelves. The firearms market in general has started to kind of return to normal, so we wanted to find out if this path to a reliable, high quality shotgun was once again a viable option.
Finding a Project Gun
So we started checking local gun stores and pawn shops. We called or visited around 15 different locations. Nobody in our area had any older Remington 870 or Mossberg 500s for sale. Part of that is probably because we’re right in the middle of hunting season. But we really were not expecting to come up completely empty.
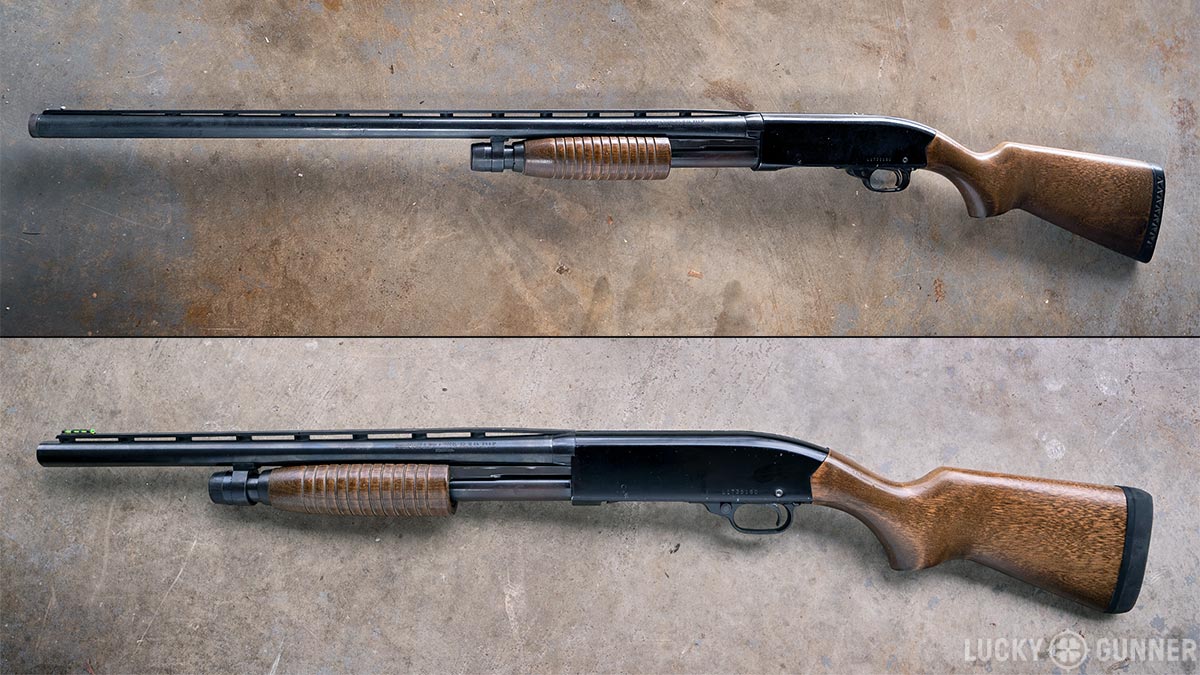
The next step was to broaden our search to other models. A few shops did have some affordable older pump action shotguns that were not Remingtons or Mossbergs. The best candidate I found was this 28-inch Winchester Ranger Model 120. This is the big box store budget version of the Winchester 1200. Not quite as well known as the Remington or Mossberg, but generally considered a pretty solid and reliable design. The Army even used them for a while. There’s no reason it shouldn’t work as well as a Remington or Mossberg.
I’m not sure how old this particular Winchester is. If I had to guess, it looks like it’s from the 70s or 80s. Even though it’s from their budget line, the wood stock and the metal finish seem nicer than most new pump actions today. It’s got a lightweight aluminum receiver. After working on it a bit, it only weighs 6 pounds and 7 ounces.
The initial cost of just the shotgun itself was $320 after taxes. So we’re already into the territory of what a used Wingmaster would have cost a couple of years ago and this is a much less desirable model. But that doesn’t necessarily mean it’s a bad deal. Let’s look at what all was involved in making this transformation.
The Plan
(Cut to Chris in the workshop)
Okay, the main things I’m going to do here: chop the barrel to 18.5 inches. It’s 28 inches right now. And I want to shorten the length of pull of the stock. It’s 14 inches, I want to get it down to about 12 or 12.5. I’m also going to put a new front sight on the rib. But the first thing I want to do is totally take the gun down as much as I can and get it clean — make sure there are no obvious broken or worn out parts. I’m not that familiar with this shotgun, but if anything jumps out at me, hopefully it’s something we can address.
(Voice Over)
Now, I want to be clear. This is not a gunsmithing video and I am definitely not a gunsmith. This is not a guide for you to follow. There are better ways to do just about everything I did and better tools to use for those tasks. We just wanted to document the process to give you an idea of what all is involved.
It’s easy to say “just chop the barrel and the stock,” but there’s probably more to it than you’d think if you haven’t done it before. I’ve cut down a couple of stocks before, but I had never attempted any of the rest of this. I basically just used the tools I already had available in my garage except for the set of taps I bought to install the front sight.
Nothing looked obviously wrong with the gun when I took it apart other than it being in desperate need of a deep cleaning. So I let the small parts soak in some solvent while I went to work on shortening the barrel. I started by carefully measuring 18.5 inches from the front of the bolt face where I needed to make my cut.
Cutting the Barrel
(Chris in the workshop)
I’m going to stick this piece of PVC pipe down the barrel until it hits the bolt. I’ll mark the pipe at the muzzle and then remove it from the barrel. Since the end of the pipe is my bolt face, I can measure 18.5 inches from there. Then, I hold the pipe up to the outside of the barrel and index it based on the mark I made for the muzzle. The 18.5-inch mark on the pipe shows me where to mark the barrel for cutting.
I can’t simply measure from the breech end with the barrel removed from the gun because I might end up cutting it too short. The legal minimum length is 18 inches, and that’s based on the distance from the bolt face to the muzzle. Measuring with some kind of stick/dowel/pipe down the barrel with the gun assembled is the most accurate way to get the length right. I add an extra half inch in case I need to file some extra off the muzzle to get it square after I cut it.
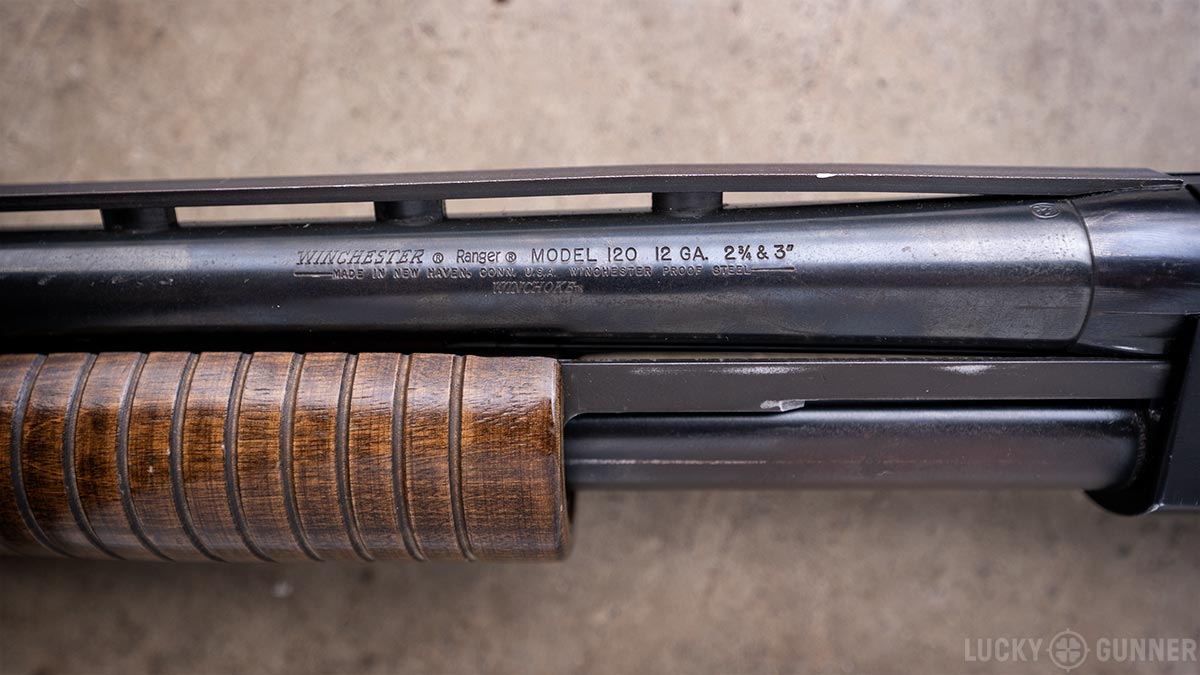
So here’s what we’re gonna do. I’ve got a vent rib and a barrel to cut. So I’m going to try to use my handy Dremel to cut a section out of the rib. That will leave me an open section so I have access to the barrel. Then I’m going to try to use a pipe cutter to cut the barrel itself. It’s only made to cut copper but I think it will cut this. The barrel is not a very thick piece of steel, so hopefully that will work. If not, I will resort to the hacksaw.
(Voice Over)
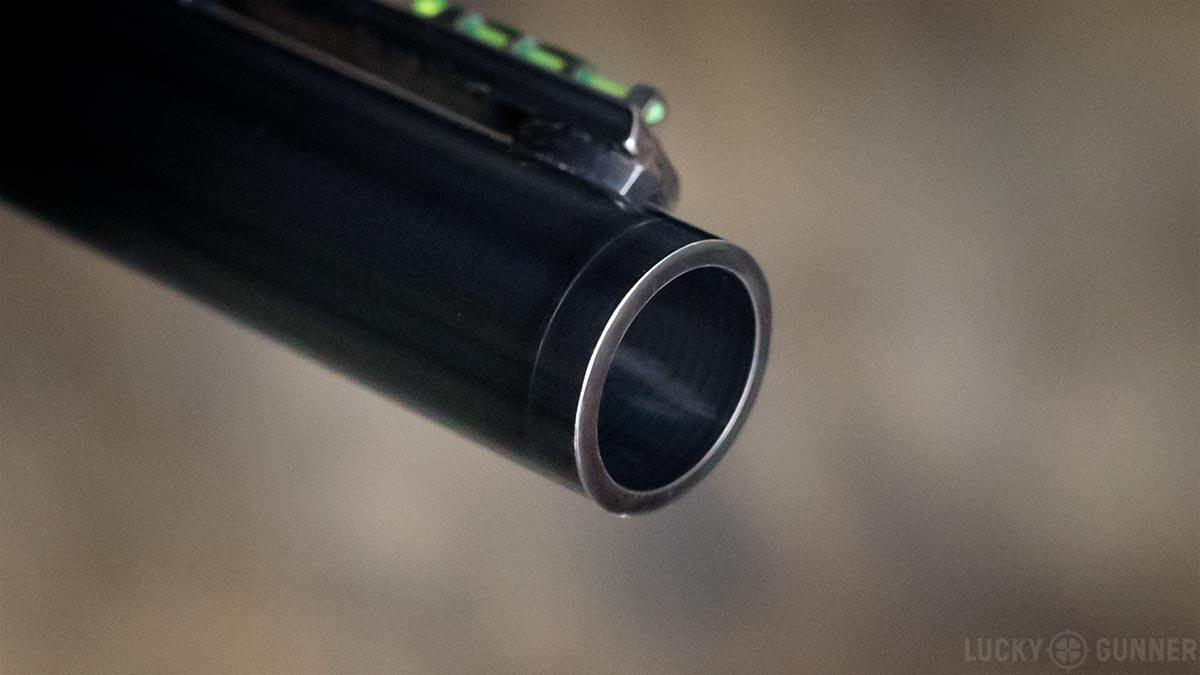
Unfortunately, the pipe cutter did not work. It made a nice groove around the barrel, but it wasn’t even close to cutting all the way through. So I did, after all, have to resort to the hacksaw.
That went through fine, but it meant my cut was not quite square, so I had to do a lot of grinding, filing, and sanding to clean up the cut. A little touch-up with a Blue pen and it’s good as new. Well, maybe not quite new, but pretty good for a DIY job.
Installing a New Front Sight
(Chris in the workshop)
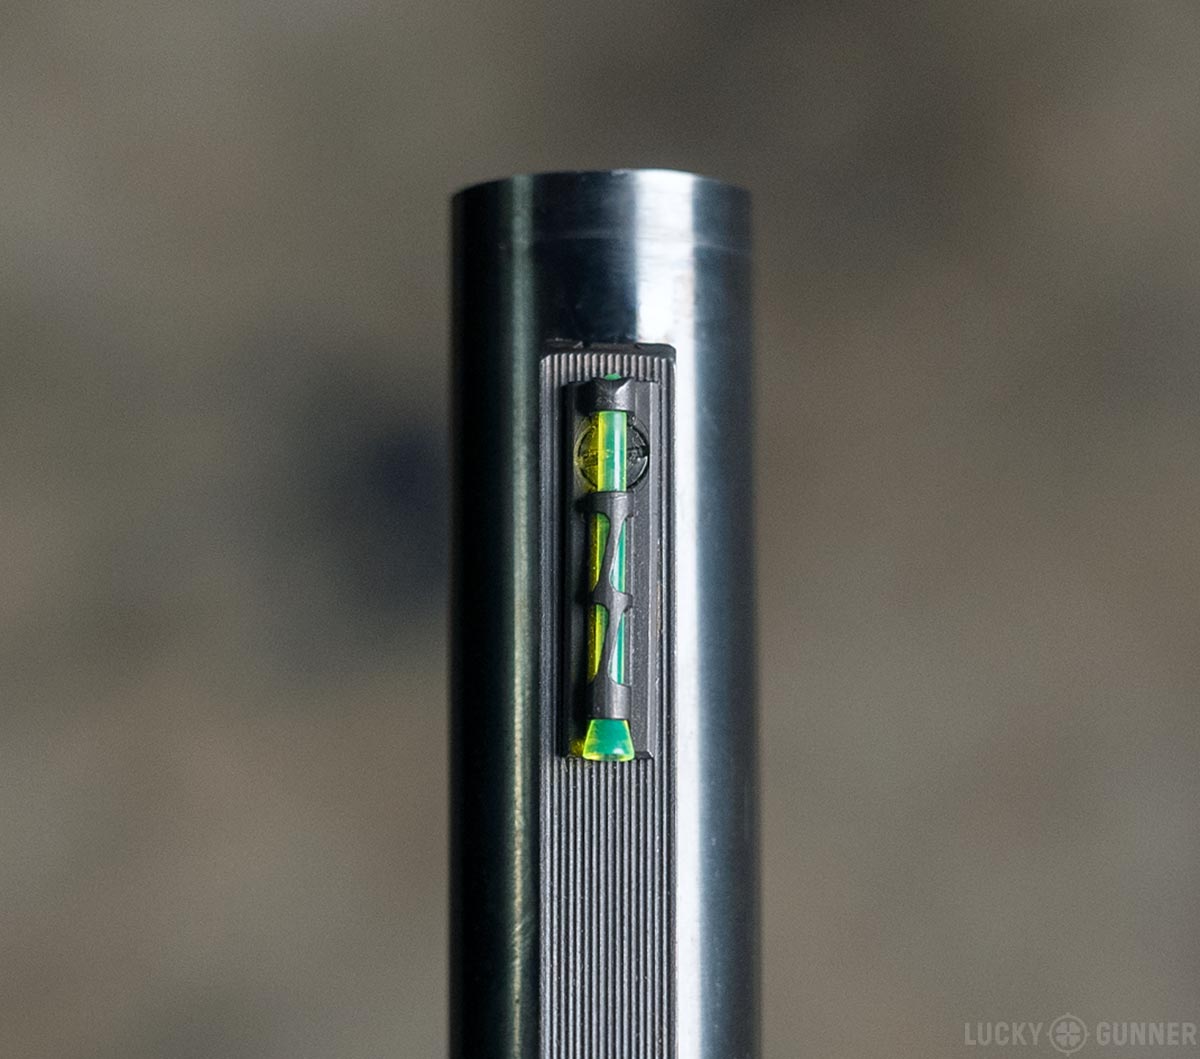
Next, I’m going to try to put this HiViz fiber optic front sight on the vent rib. We could just drill and tap the vent rib and re-use the bead that was on the section we cut off. For a home defense shotgun, I would like to have something that’s more visible than just a simple bead. Especially that one — it’s not even a gold bead. It’s kind of a dull grey/silverish color. If there’s any ambient light, this fiber optic tube will really pop.
The sight came with five different screws so you can use the one that matches the thread pitch on your shotgun. At the hardware store, I was only able to find a tap that matched one of the five screws. So hopefully, that one will work.
(Voice Over)
This part went pretty smoothly. I didn’t feel great about using a hand drill rather than a drill press for my pilot hole. It ended up being slightly off center. You can tell it’s off if you look at it, but when I measured it with my calipers, it was only off by .014 inches. Fortunately, when I test fired the gun later, that did not make any noticeable difference.
Cutting the Stock
(Voice Over)
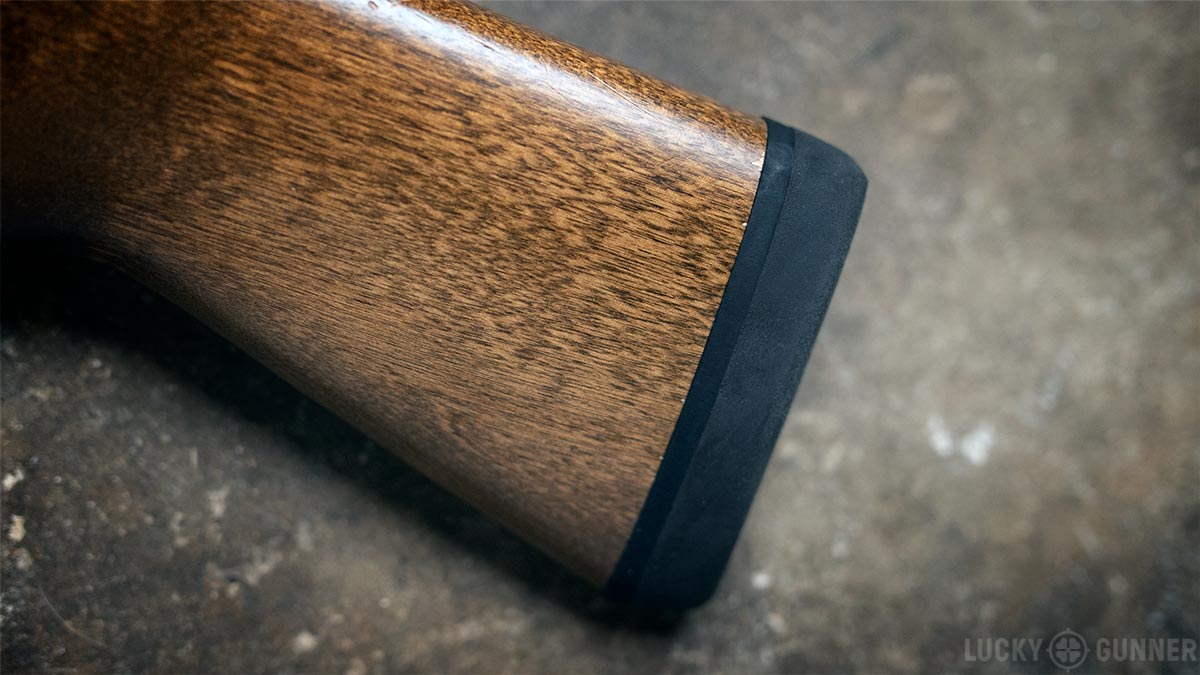
Next, it was time to work on the stock. To get the length of pull I wanted with the Pachmayr Decelerator buttpad I planned to install, I needed to cut about two inches off the end of the stock.
(Chris in the workshop)
I’ve cut a couple of stocks before. I’ve never been able to get it quite square. After I cut it, the end of the stock needs to be at the same angle it currently is. I’ve tried a couple of different methods. I’m going to try a new method today. I’m going to use this little jig that I made. I should be able to clamp the jig to my miter saw and keep the stock pressed against the side of it to maintain the correct angle. So we’ll see how this works out…
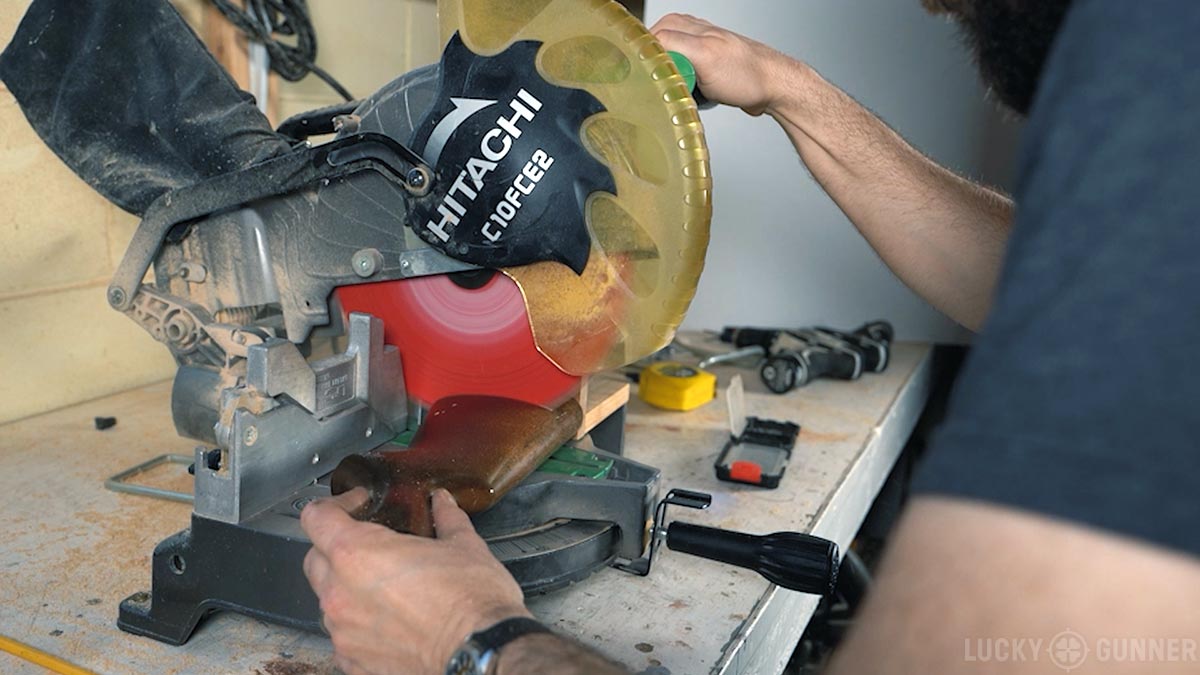
Okay, that looks pretty square. Good, it worked out. Something worked as I planned for it to.
Fitting the Recoil Pad and Mag Spring
(Voice Over)
The final step for the stock was to fit the new buttpad. I cut off the big chunks with a jigsaw and then used my angle grinder with a sanding disc to shave down the rest. I finished with some finer grit sandpaper on a rotary sander to smooth out the rubber. This part would have been much easier with a belt sander or a disc sander. It’s really tough to get the rubber smooth with the tools I had. But I was pretty satisfied with the end result anyway.
Mag tube springs are usually the first thing to wear out on a shotgun, so I replaced that. I got a new over-sized spring from Nordic Components that you have to cut to the correct length. For a pump action, they suggest you cut it 8 to 12 inches past the end of the mag tube.
All that was left after that was to clean everything up, put it back together, and test it out at the range.
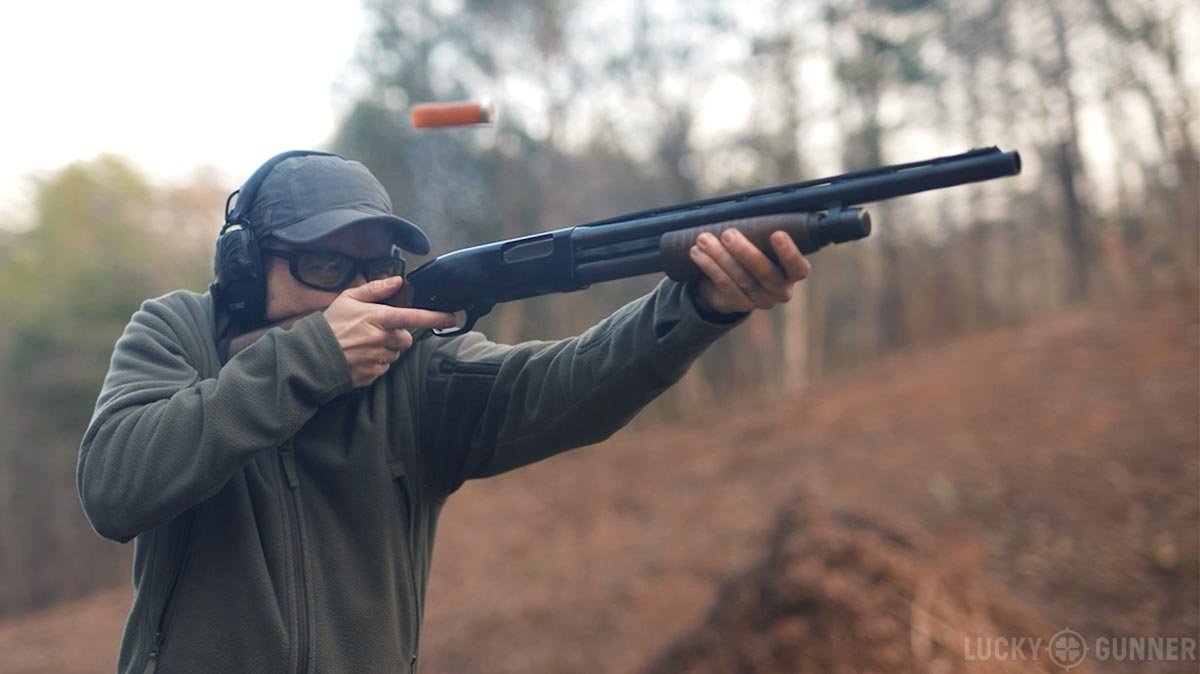
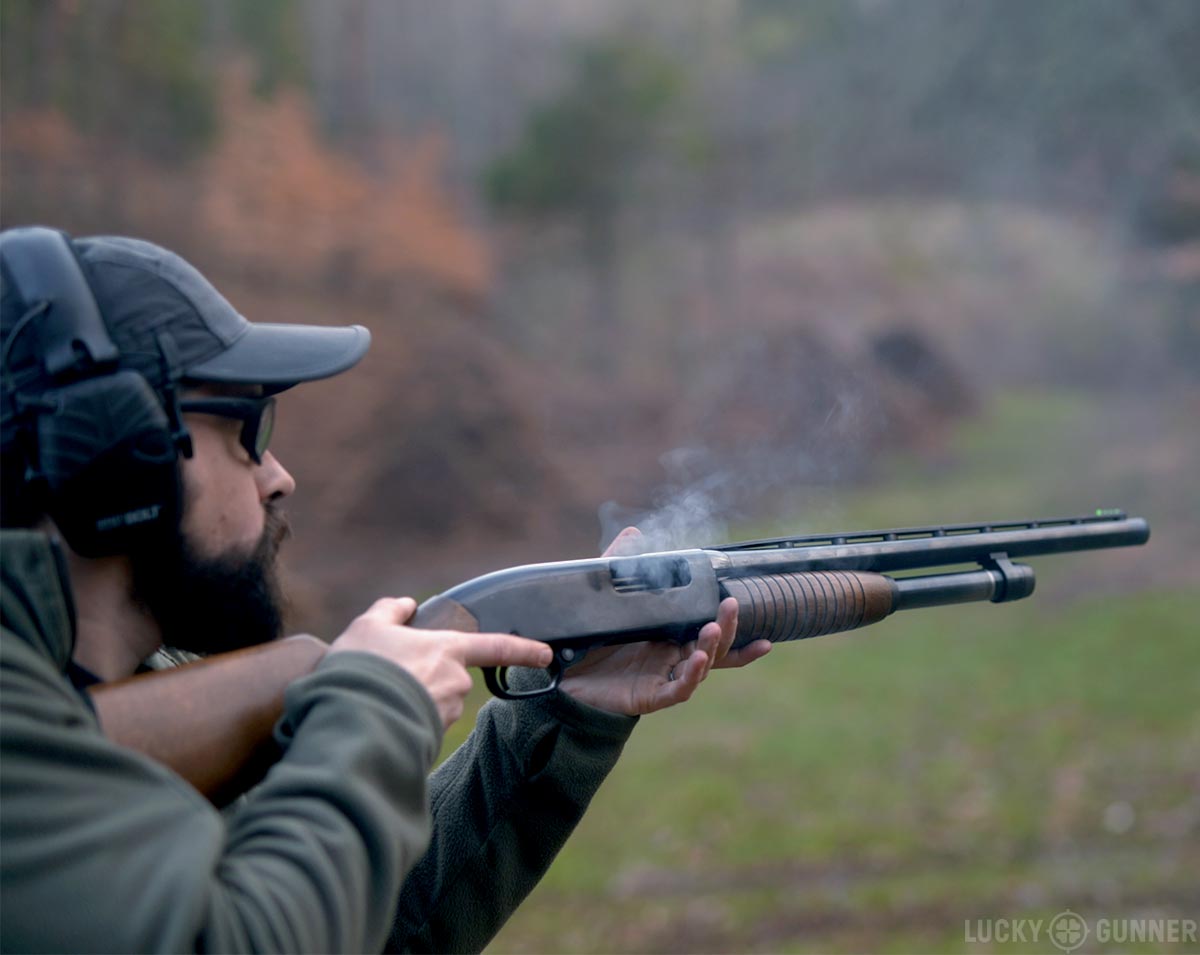
Test Firing the Modified Winchester
This turned out to be a really fun shotgun to shoot. Especially after working with that miserable KelTec KS7 a few weeks ago. The action is incredibly smooth. It’s also unusually soft shooting for a pump action, especially one that weighs under 6.5 pounds. The recoil pad seems to be doing its job. The fiber optic sight is easy to track. I am very happy with how this thing turned out.
There are, of course, more accessories I could add to this gun to make it more like a modern defensive shotgun. I could add a shell carrier to the side of the receiver. I could add a light with a generic mount that fits over the mag tube. It might not be a bad idea to increase the mag capacity. I cannot quite fit five shells in this tube. Nordic Components makes a +1 extension that will fit the Winchesters, and I think, in this gun, it might let me get six rounds in the tube.
Cost Analysis
This would be a fantastic starting point for a highly capable home defense shotgun. So let’s look at what it cost me. I paid $320 for the gun. The front sight, recoil pad, and mag spring were $75. I had to buy a set of taps to get the one I needed for the front sight and that was about $38. And I used up some other supplies like sandpaper, shop rags, and solvent. So let’s call it roughly $450. And the labor part was about six hours total, but I’m not counting that because it was actually pretty fun.
Today, $450 will buy you a new Mossberg 590 shotgun. Those are not bad shotguns, but they’re also not what they used to be. If you already have the tools and you enjoy doing projects like this, I think an older shotgun still might be a better deal. That’s assuming you can track one down. Or you could buy an older shotgun and then have an actual gunsmith do the work for you. Any decent local gunsmith should be able to do it for a reasonable price.
Guys, I had a lot of fun with this one. I hope you enjoyed it, too. I’m going to take a couple of weeks off now, so have a great new year and I will see you in January.
The post Shotgun Hack Job: Budget DIY Home Defense appeared first on Lucky Gunner Lounge.