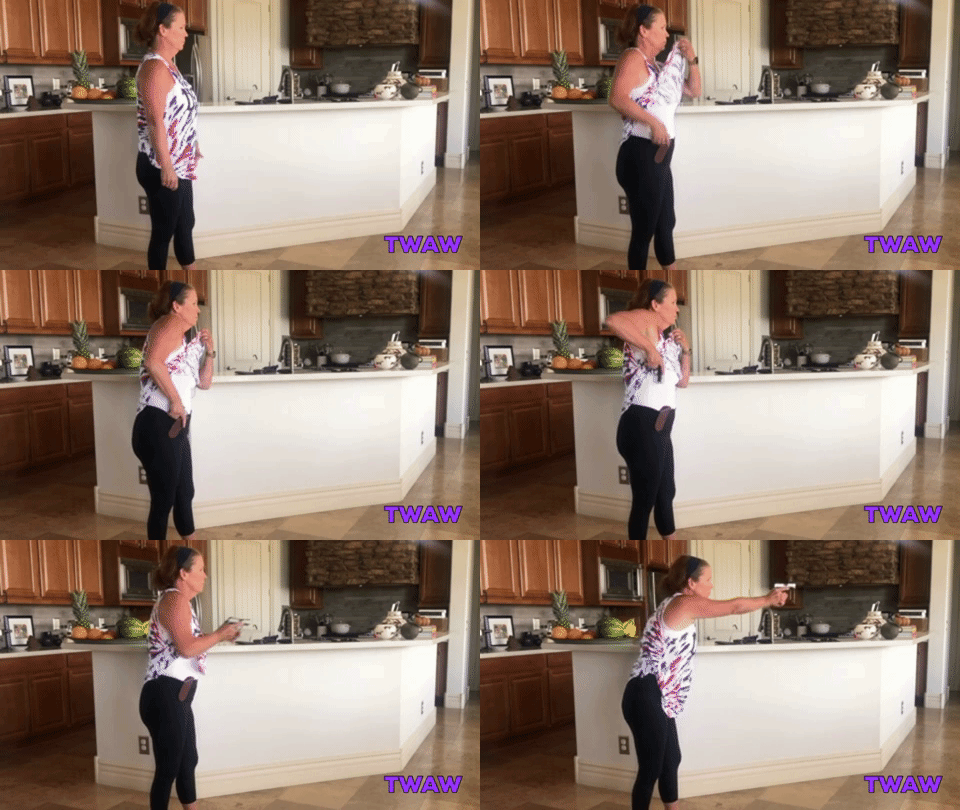
Over the past two weeks, we have covered the techniques of clearing your clothing to give you direct access to and attaining the proper firing grip on your gun in its holster. Followed by drawing (pulling) your gun from the holster ensuring you have enough space to rotate the gun without getting caught up with the holster. Then, rotating your gun to get the muzzle of your gun pointed toward the target. Now we must learn to extend the firearm forward. We must be able to do this safely while simultaneously getting a solid two-handed firing grip, getting our sights on target, and preparing our trigger finger to do its job.
There are a lot of important things to accomplish during the brief motion of extending. So, let’s get to work. First, I can’t emphasize enough the REQUIREMENT of safety anytime you are practicing with your handgun. Practicing with your unloaded gun is called Dry-fire practice. At no time should you EVER be casual about your dry-fire practice. I know I am sounding like a broken record, but I will continue to sing this same song over and over again as I care about your safety and that of those in your household. Please see more information on safely practicing with your firearm in this article: Dry-fire Practice For The Woman Shooter
Technique For The Extend (Please read this fully first, safe practice tips are provided below)
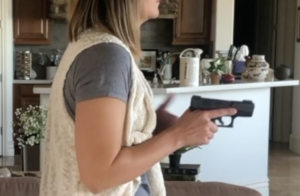
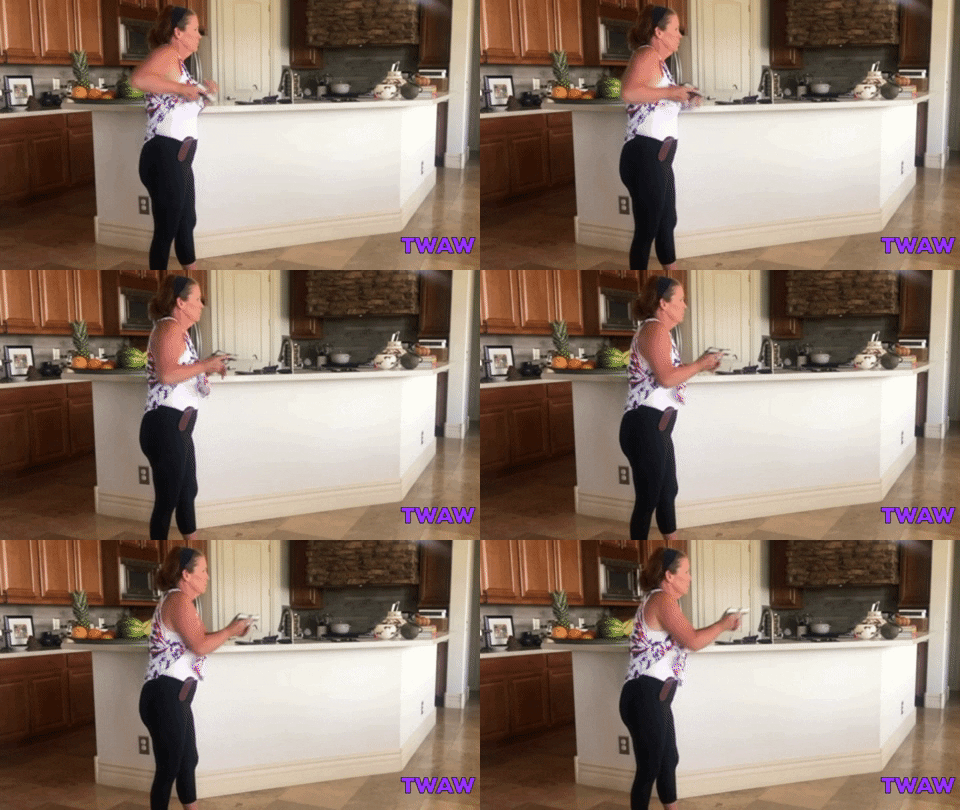
With your muzzle downrange after the rotate step, you will now be moving your firearm forward. Once it passes in front of your lower chest or stomach, move your support hand toward the firearm and get a good two-handed firing grip on it. Remember, the grip you attain from the holster and when adding your support hand is the grip you will be defending your life with. It HAS to be good, practice will help you achieve this. At this point, your gun is directly in front of your upper body and your arms are not extended yet.
*Note: If your gun has a safety feature – it should already be disengaged at this point. Please refer to Part II: Pull and Rotate to review this step.
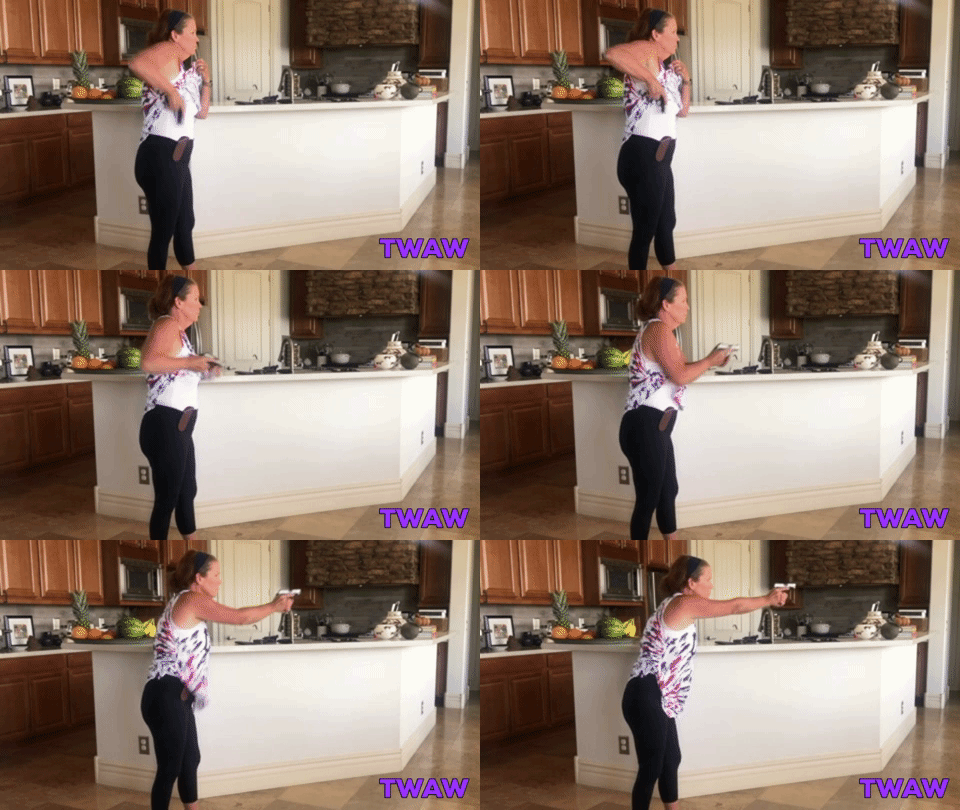
Once you have acquired a solid two-handed grip – your hands and arms continuously push forward into full extension. During this motion, two things must take place.
- You align your sights on the target and focus on your front sight. The goal is to have ALREADY acquired a complete sight picture BEFORE you reach full extension. To achieve this, you are bringing the gun up to eye level as you extend the firearm. You must get your gun aligned at eye level as quickly as possible. This will give you time to obtain a clear sight picture of your target before you are fully extended.
I realize this sounds like an awful lot to do in these fractions of a second, but trust me, with practice and training all of this will begin to come together as one motion and action.
- As you reach full extension, your trigger finger is moved to the trigger. You will be ready to fire as your sight picture becomes clear.
Some important things to note
- Your finger should never be on the trigger UNLESS you are ready to shoot. What we are training for here is drawing your gun from concealment because you HAVE TO. To protect your life. The premise is that your life is in imminent danger and you MUST draw and fire your gun to protect yourself. You are in a fight, a fight for your life.
- Shooting upon the finish of your extension is an acquired skill. One that takes a lot of time and practice to master. I remember the first time I had my finger on the trigger as I was completing my extension in a Beretta defensive shooting course with two amazing instructors and true legends, Pat Rogers and Ernest Langdon. It was quite unsettling and I truly felt the heavy burden of my responsibility to “control” myself and my trigger finger, I could not let myself press the trigger and negligently discharge a round until I was, undoubtedly, on target. I found myself wanting to wait until after I had extended, to then acquire my sight picture and then place my finger on the trigger. I was looking at this action as three separate tasks, waiting to finish one, before doing the next. What I learned quickly was, that in the seconds that my life is on the line, there is no time to “put it all together in stages” after being fully extended. I also had to learn the true discipline and control required of placing my finger on the trigger while still in motion. What these men taught me was that to survive the fight, we “have to have it all together” before completing the extension.
Practice Tips – The Extension
With UNLOADED HOLSTERED GUN: (check and double-check your gun including looking into the chamber through the top of the slide, verifying there is no ammunition in the barrel before doing any practice)
Please see more information on safely practicing with your firearm in this article: Dry-fire Practice For The Woman Shooter
Set up your phone (or video camera) or have someone film you from the side on your strong side (right side if you are right-handed) about 5 feet away.
Video and review yourself performing each of the tips below
Tip 1 – Attaining a good two-handed grip
Begin with all of the steps we have covered thus far, clearing your clothing, pulling the gun from the holster, and rotating the muzzle of your gun toward the target.
SLOWLY and consciously move your dominant hand with the gun to your upper centerline (if it’s not already there). It is preferred to be in front of your lower chest or it can be your upper stomach. Do whichever feels and comes more naturally to you. At the same time, move your non-dominant hand from its safe location which preferably is in near proximity to the centerline, where you are raising your firearm to. With as little extra movement as possible, begin to place your non-dominant hand on the grip of the gun with your dominant hand as you begin to extend outward while keeping your muzzle pointed downrange. To read more about the proper two-handed grip, click here.
Do this motion over and over again, at least 10-20 times a day. Each time verifying that you have acquired a really good two-handed firing grip at the centerline each time and that you can attain your grip and begin to extend forward simultaneously. Start slowly and focus on just this step before progressing to the next steps.
Tip 2 – Aligning your sights
Pick a spot on the wall or something you can use as “your target” to practice attaining a solid sight picture
As you begin to extend your arms forward with a solid two-handed grip, you want your gun at eye level as quickly as possible. If you are attaining your two-handed grip at the centerline you will simply be pushing your arms forward and slightly upward. If for some reason your hands are not in the centerline area due to the location of your holster, raise your arms and gun to align them with your eyes, while being aware of where your muzzle is pointed. You want the gun to come up into your eye level NOT moving your head downward to find the sights.
Keep in mind, that as you move your body into a slightly forward-leaning defensive shooting stance your arms and your eyes naturally align. Find your selected spot on the wall and work to align your sites on the target DURING THE EXTEND. The goal is to have your front sight squarely on the target BEFORE you reach full extension. The earlier you can get your sights aligned with your eyes, the more time you will have to acquire a proper sight picture, and the faster you will be ready to fire.
Note –an attack can happen very quickly and there is no way to know exactly what your attacker is going to do or the situation you will be in. You may be required to fire before you reach your full extension. If for example, he lunges toward you unexpectedly.
There may also be a situation when you do not have time at all to extend, or there is a great risk that your gun would be taken away from you should you extend. In these situations, you would be shooting at close quarters with no time to use your sights. A quality defensive shooting course is highly recommended and would go into more depth and techniques for close-quarter defense situations.
Do this drill repeatedly and daily, at least 10-20 times each session, verifying that you are truly acquiring a rock-solid sight picture each time BEFORE you are fully extended. It will likely take you a lot of practice to train your eyes (and body) to be able to do this
Tip 3 – Placing your finger on the trigger
Once you have become proficient at sighting while you are extending at eye level, you can begin to “place” your finger on the trigger once you are more than halfway extended. Do not place your finger on the trigger during the draw, pull, rotate, or while acquiring your two-handed grip! This should only be done once you are well on your way toward a full extension. DO NOT PRESS THE TRIGGER PREMATURELY. You are simply preparing to press the trigger once you have confirmed your target and have a clear sight picture. The goal here is to be as ready as you can be in the shortest time. “Efficiency of Motion” is what you are looking for. Keep in mind that this takes great control and discipline. During an attack, your adrenaline is rushing and your muscles may tighten. Training yourself to “Place” your finger on your trigger and not press it until you are ready is what is required.
Note – the use of a laser trainer, such as SIRT or Laser Ammo is extremely useful for this training. It will allow you to see exactly when you have pulled the trigger and how accurate your sighting was. Being able to view this on your video is invaluable.
Conclusion
Phew…. That was a lot to cover. Don’t let it overwhelm you. This is about knowledge and practice. Perfection comes later.
Keep up the great work you are doing and remember these are all steps are parts of a whole. We are breaking them down then practicing them together. The goal is that they will all come together at some point and become one smooth, precise and consistent motion.
Next week will work on re-holstering.
The post Drawing From Concealment Part III: The Extend appeared first on The Well Armed Woman.
