
The phrase “optics ready” has become almost as prevalent as the phrase Picatinny rail in the handgun world.
Many new handguns hitting the market are optics-ready, both big and small, and I think that’s outstanding. I feel that red dots on handguns are the future.
A red dot can be massively beneficial to both new and old shooters. But to get the most out of them, you have to know how to use them.
With that in mind, we put together a guide on how to use a handgun red dot, as well as a list of a few of our favorite dots. But first, let’s be clear on why red dots are awesome.
Table of Contents
Loading…
The Benefits of a Red Dot
Starting with the biggest advantage, they are so easy to use. Put the dot on the target and pull the trigger.
Iron sights require you to line up the target, the front sight, and the rear sight.
Superimposing a dot onto a target is not only easier to do, but it can also be much faster. Getting a dot over the target is usually quicker than aligning the iron sights and focusing on the front sight.
Using a red dot makes can also improve accuracy. Skill is still required, but there is less margin for error when putting a dot on the target.
With iron sights, if the front sight is a little more to the right or a little low, you will see a pretty big difference on paper.
Front sights can also be pretty big. Even smaller front sights can still obscure targets when shooting at longer distances. The smaller dot makes it easier to see the target, and if a target is easier to see, it’s easier to hit.
Simply put, a handgun red dot makes it easier to shoot your gun more accurately, faster, and at greater distances.
Downsides to a Red Dot
Free lunch? Nah, there is no such thing. Of course, there are downsides to the red dot on your handgun.
For concealed carriers like me, they make the gun a bit larger and bulkier. They also are not cheap. Well, good ones are not cheap.
At a minimum, they will cost us around $250 to 300 for a solid-duty optic. That’s easily half the cost of a modern defensive firearm.
Prices accurate at time of writing
Prices accurate at time of writing
Some people will point to durability issues. With cheaper optics, this is undoubtedly a concern. However, red dots have gotten tougher over the last few years, even ones made for handguns.
A duty or carry-ready optic can take some serious abuse. In my experience, I’ve never broken a quality red dot sight, but I have broken or dislodged the iron sights of a Glock 19, an MR9, and a CZ P-10C through training.
Are they weaker than iron sights? That’s the big question, and I honestly don’t think they are — at least not a quality red dot.
There is always the issue of a battery as well. Batteries die, so you must pay close attention to the optic’s lifespan and swap batteries regularly!
How To Use a Red Dot
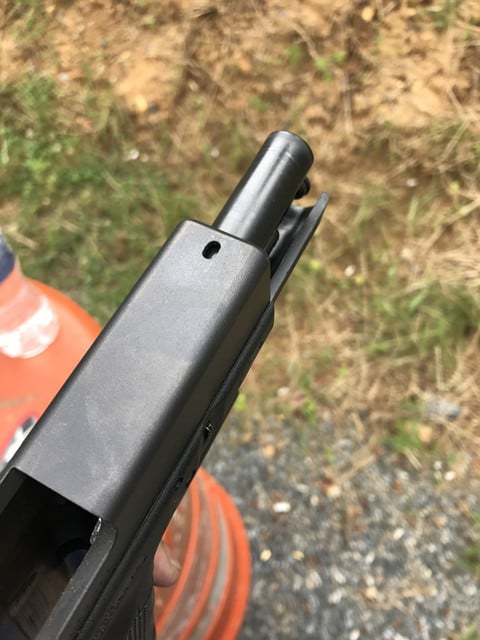
First and foremost, you either need an optics-ready pistol or have your slide milled for an optic.
Since there are many optics available, this also means there are a few different mounting footprints. Many gun manufacturers use a plate system that allows the use of adapter plates to make sure you can mount most mainstream red dot options.
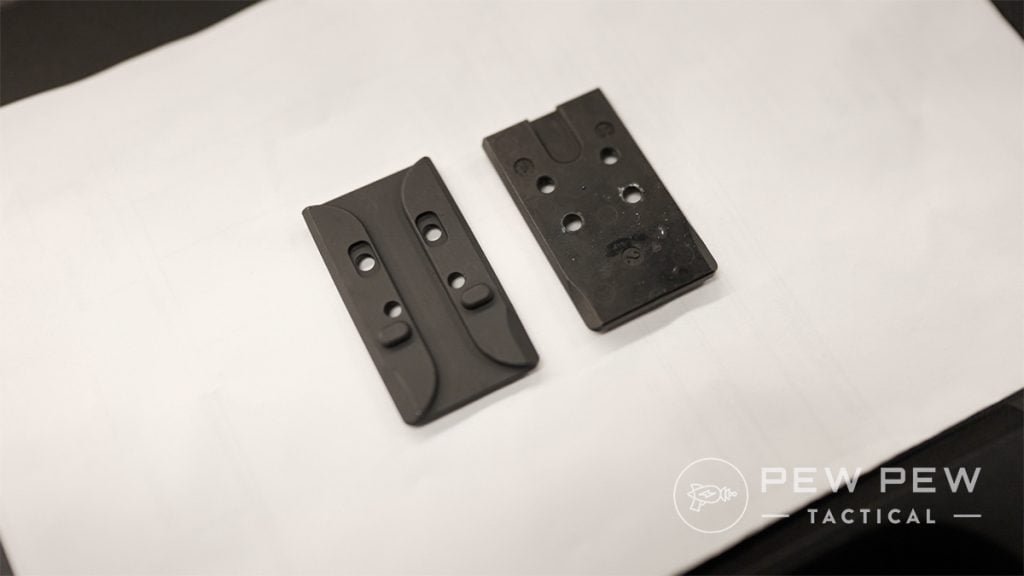
However, you always need to ensure that your gun and the red dot you are looking at are compatible before making any purchases.
You will most likely need a mini torque wrench to mount your optic. For all things gun, I go with Fix It Sticks. It is best to follow the manufacturer’s recommendation for how many inch-pounds of torque need to be applied.
Prices accurate at time of writing
Prices accurate at time of writing
Take my advice, don’t goof around with the installation. Use blue Loc-tite and proper torque. I’ve just winged before, and it gets really annoying when you find out your optic is just a little loose and shifting with each shot or that you stripped a screw.
Zeroing A Handgun Red Dot
Here comes the fun part…
With rifles, there are quite a few options for zeroing an optic, but handguns are a different beast.
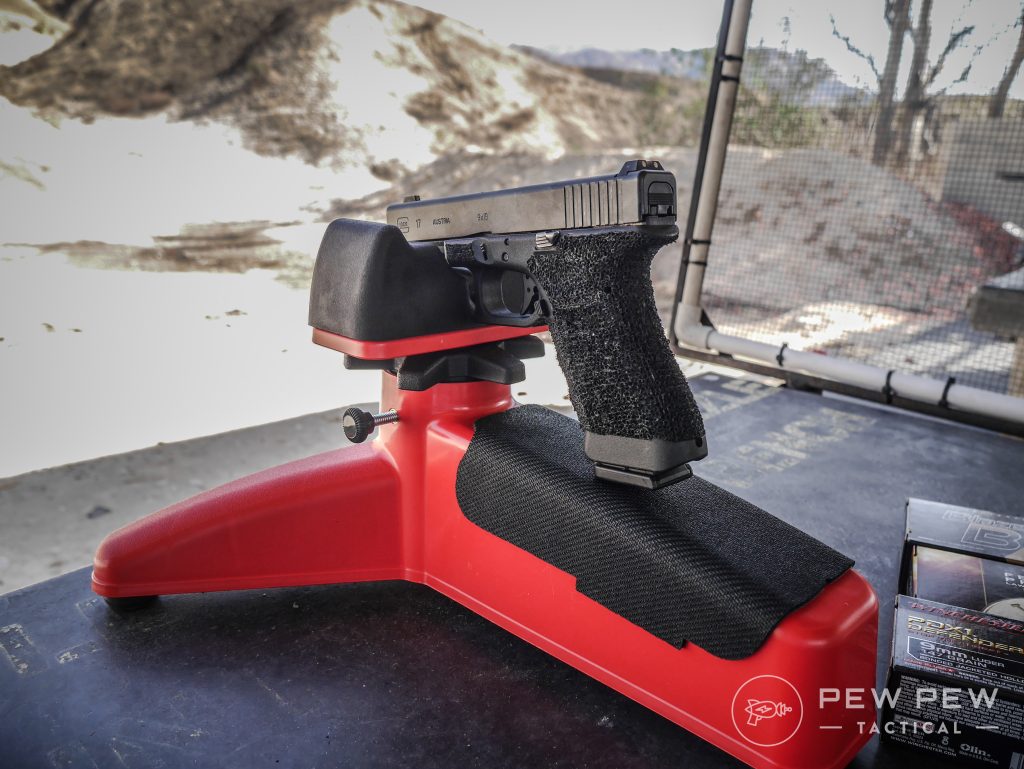
Like any weapon, you want to find a way to stabilize the gun while you shoot. For me, that means a bench and chair and a supported position.
What’s the right distance to zero at? That’s the magic question. A lot of the better shooters out there suggest a 25-yard zero.
I agree that it is a good distance for a compact or full-sized gun. Things like a Glock 17 or 19 aren’t too difficult to shoot at 25 yards, especially with a supported position.
When we move to smaller guns, like the P365 and Hellcat, I use a 10-yard zero. I find these small guns are harder to shoot at longer ranges and tougher to produce groups tight enough to zero with.
If you can zero small guns at 25 yards, feel free to do so. If you can’t, then 10 yards isn’t a bad compromise.
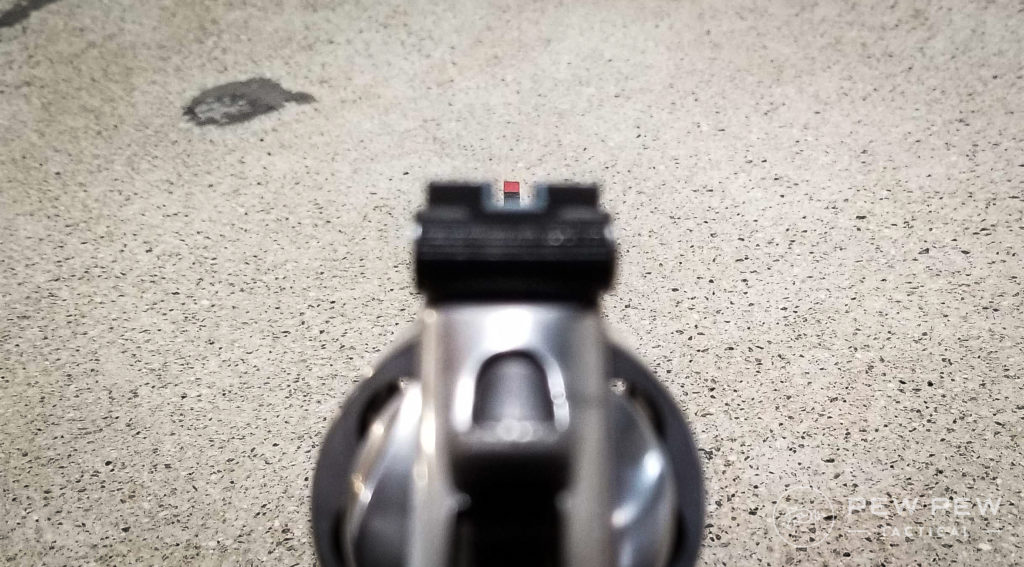
Absolute Cowitnessing
One common piece of advice I hear is that you just zero your dot so that it sights right on or above your front sight. It’s easy peasy, and you don’t even have to shoot your gun!
Well, that’s terrible advice.
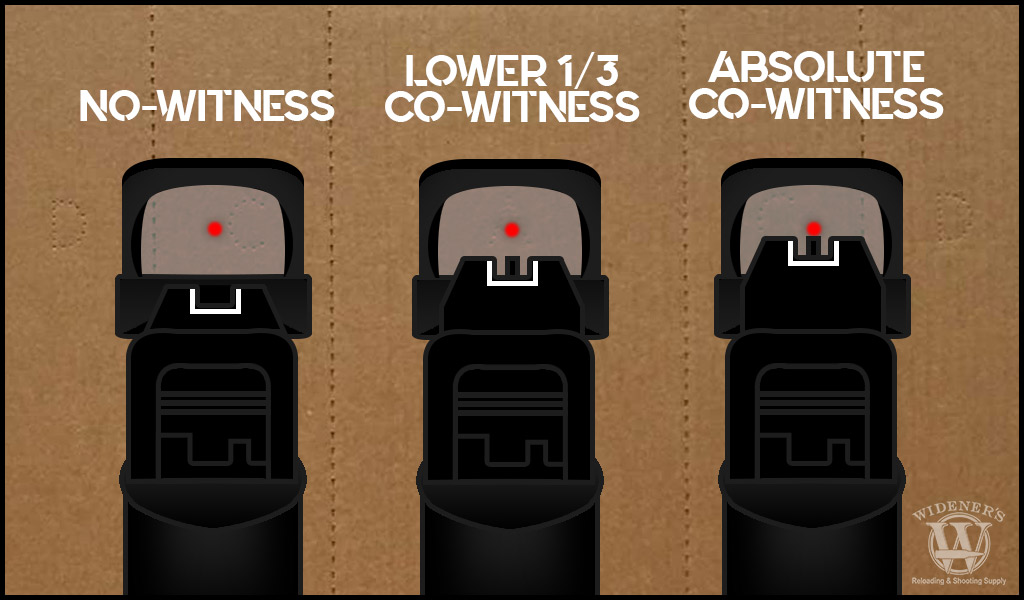
Red dots and iron sights are two different sighting systems and deserve different zeroes.
While it seems simple to zero this way, it will detract from your experience with the dot and eliminate some of its advantages.
If you are cowitnessing with your iron sights, that likely means they are suppressor height sights. This means we will have that same built-in mechanical offset that suppressor height sights have.
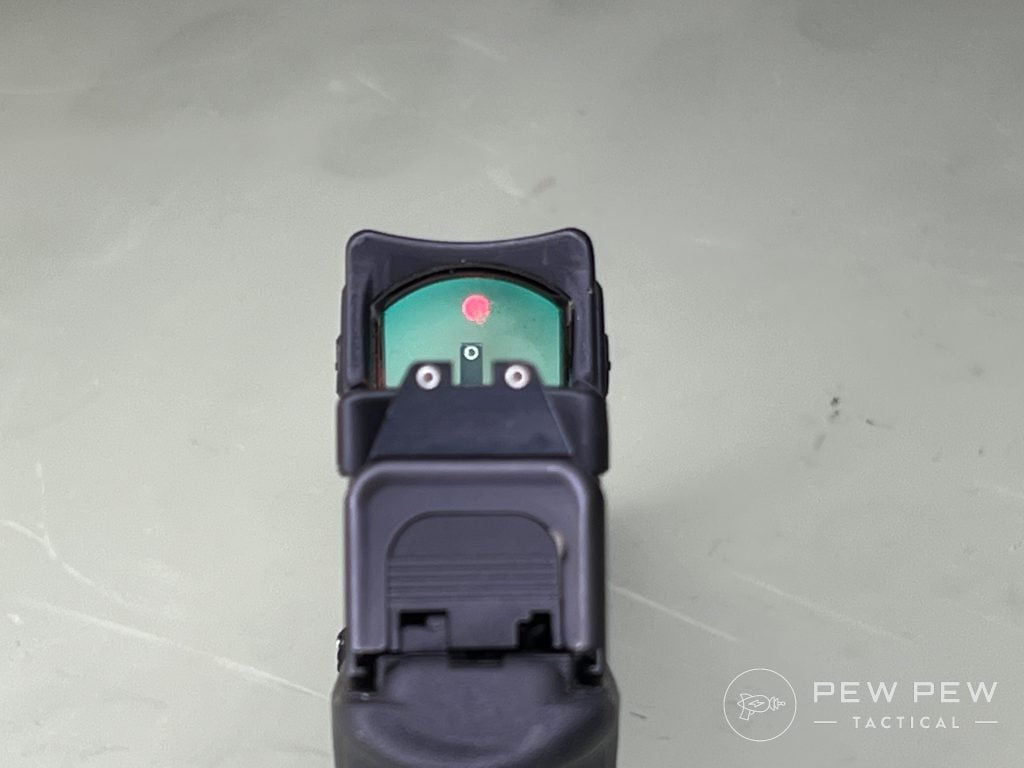
Putting the dot right at the front sight also means that your sight picture is now cluttered with both a sight post and a red dot.
When you zero a dot to the front sight, you are not zeroing the dot to the target — you are zeroing the dot to something less than 6 inches away.
This has the effect of making you hit higher with a greater horizontal spread as you begin shooting at longer ranges. Within 15 yards, it’s up a couple of inches, and at 25 yards, you’ll start to see a deviation of potentially as much as 6 inches.
The only way this setup works is if you align the dot with the iron sights each time you shoot. At that point, you are losing many benefits of a red dot since you are just aligning your iron sights plus an extra dot.
If you want the most accurate zero possible, you have to zero the dot to the target.
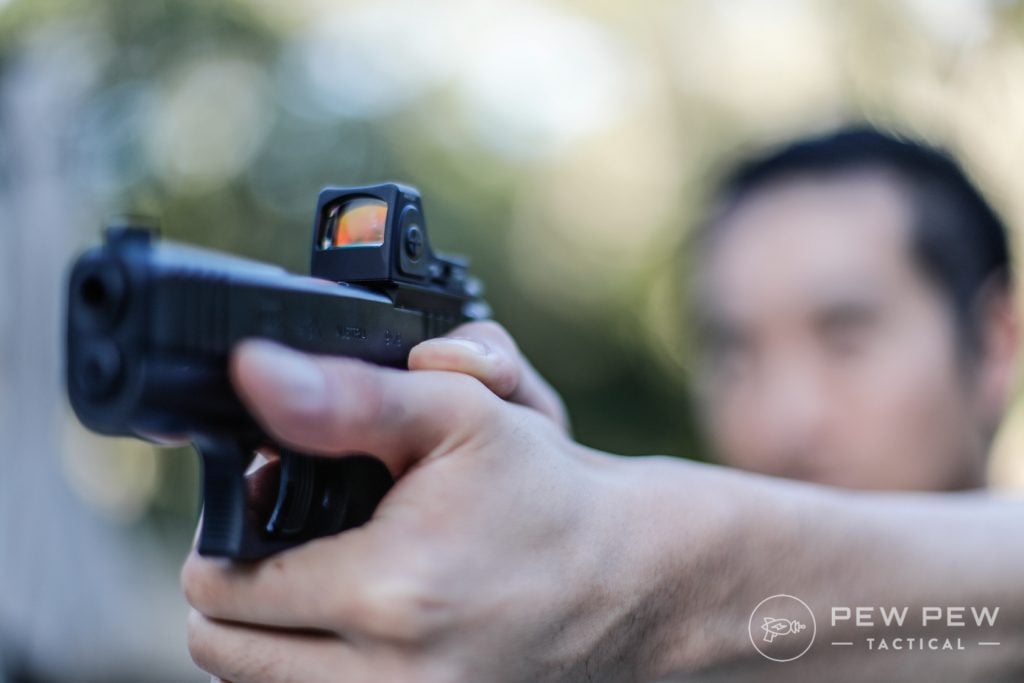
Making the Most of Your Dot
Once your red dot is installed, zeroed, and ready, it’s time to learn to use it. It is simple. Put the dot on the target and shoot. However, getting to that point can be tricky.
When drawing and presenting the gun, the dot can be unforgiving. If you have a poor presentation, finding the dot will be difficult.
Luckily, this can be countered by practicing that presentation over and over.
While it might be considered a downside of dots, I think it’s good. It really forces you to master presentation, which is useful for defensive shooting.
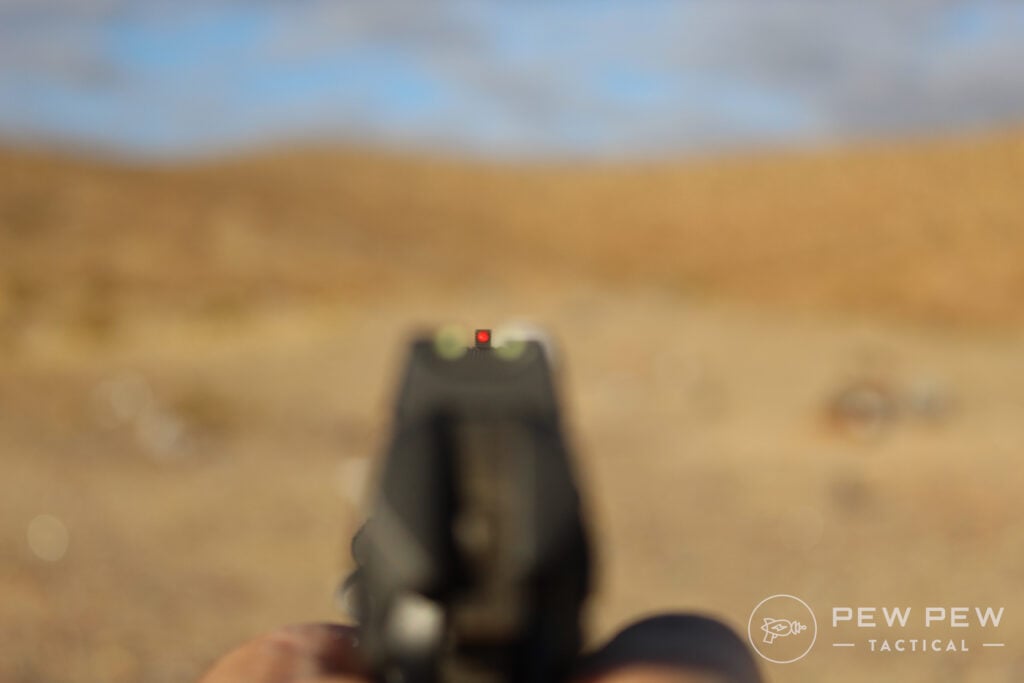
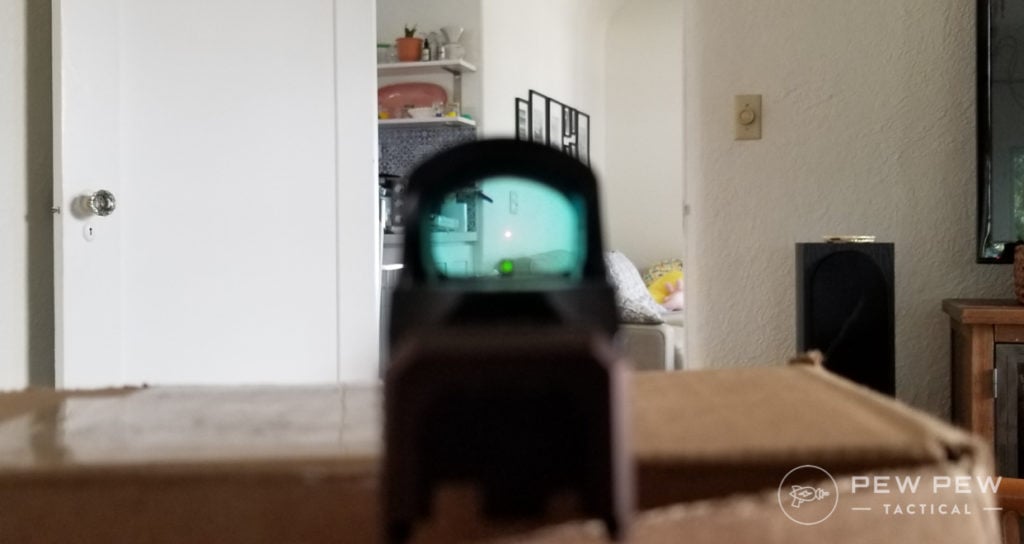
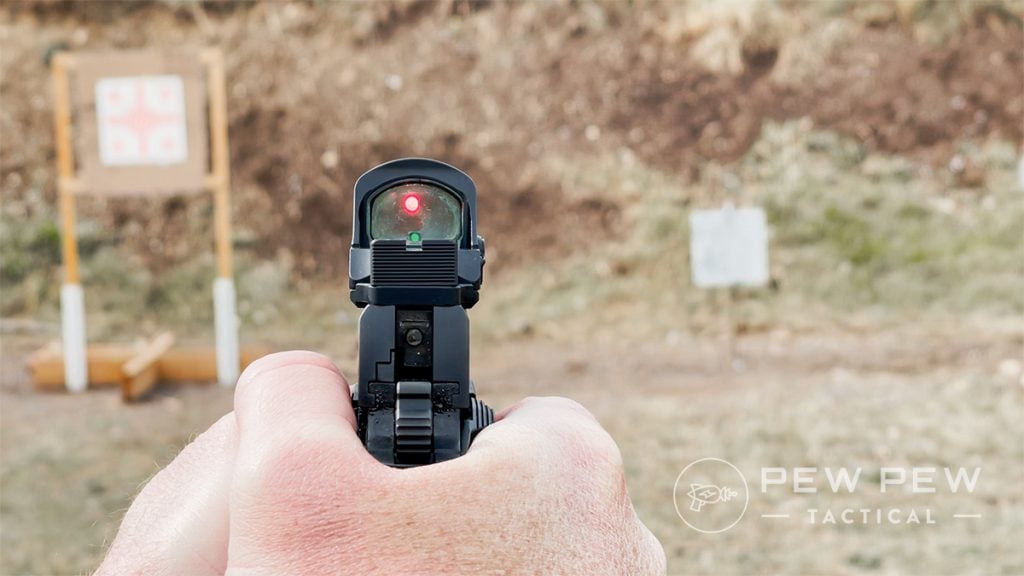
Many shooters starting with red dots think they need to focus on the dot when in reality, they need to focus on the target.
Target focus means looking through the optic and focusing on the target. The reticle is still easy to see over the target, and you maintain your point of aim. Focusing on the target allows for greater situational awareness.
Admittedly after years of sight focus, it can be tough to break the mold. If you have difficulty focusing on the target after some practice, place a piece of tape over the red dot lens. This prevents you from focusing on the dot and the target at the same time.
Shooting with both eyes open, your binocular vision allows you to use this occluded shooting method and will force you to have a target focus.
Practice, practice, practice, and it will become second nature before you know it.
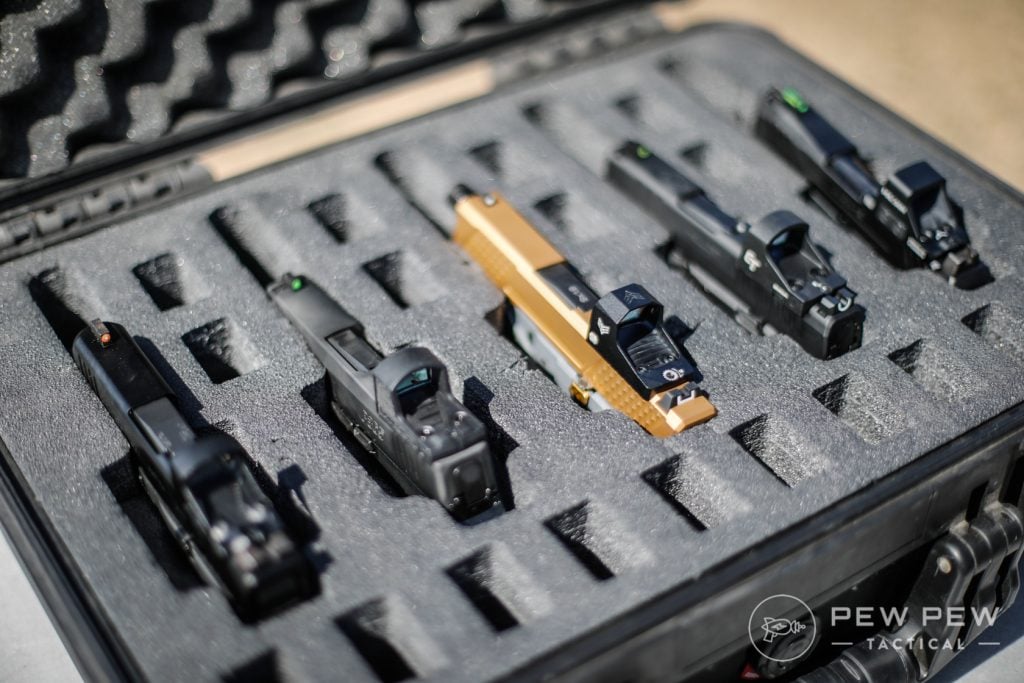
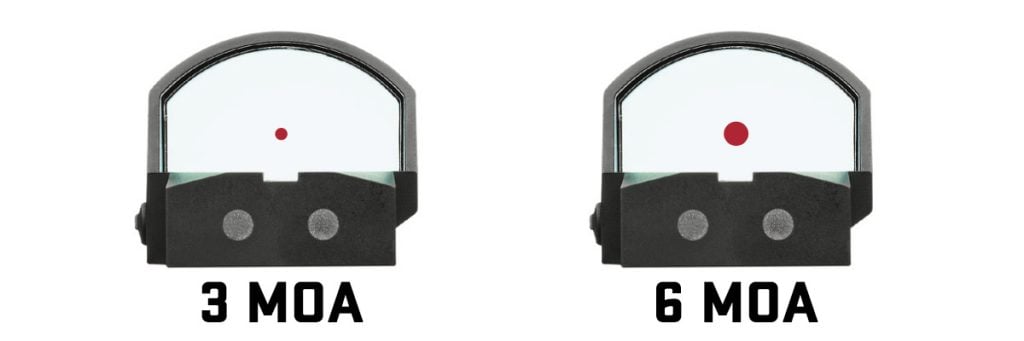
What About Dot Size?
Choosing the right-sized dot is subjective to the shooter.
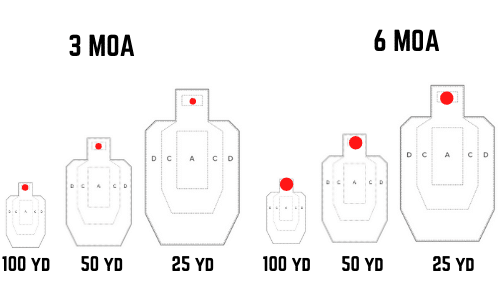
Dots come in various sizes, and depending on your gun, you might choose something easier to see and faster on target.
Big dots can be very easy to see but can also cover up more of the target at longer ranges. Small dots are more precise and allow for greater accuracy, but they can be harder to pick up quickly.
With something like a P365, maybe a big 6 MOA sight makes sense since you are likely to be well within 25 yards of your threat, and speed is more critical for defensive shooting than long-range precision.
On a Glock 17, or 34, a smaller 3.25 or even a 2 MOA dot makes sense because these guns are easier to shoot at longer ranges. On competition guns, smaller dots might be your ticket due to smaller target sizes.
There is some trial and error to find what works best for you, and it is best to try and look through some at a store if you have the opportunity.
That being said, I like a 3.25 to 4-ish MOA dot, but 2 MOA also works for me.
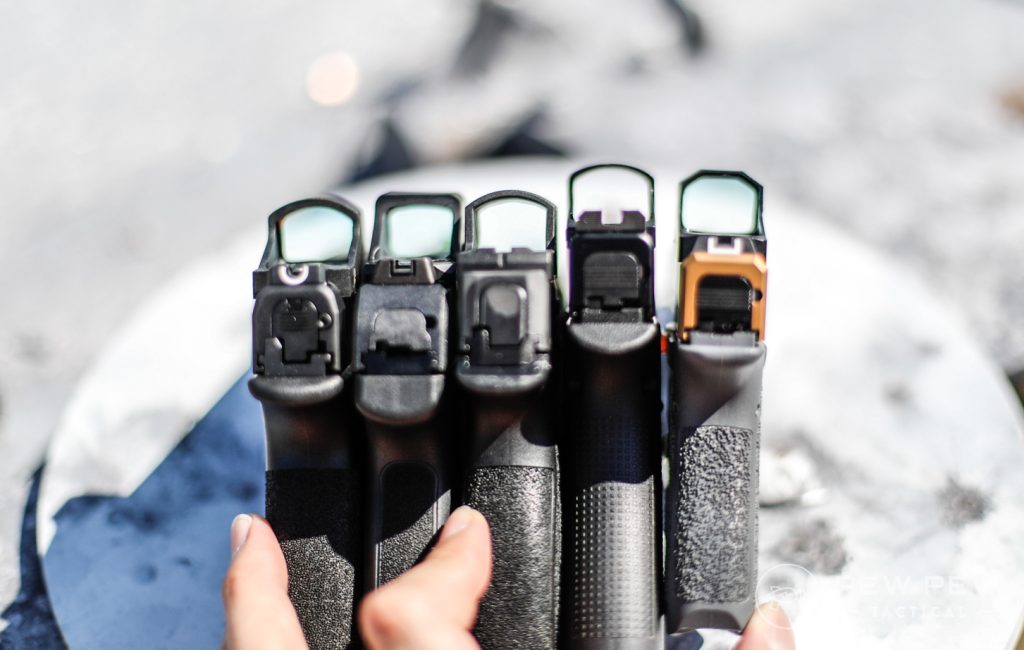
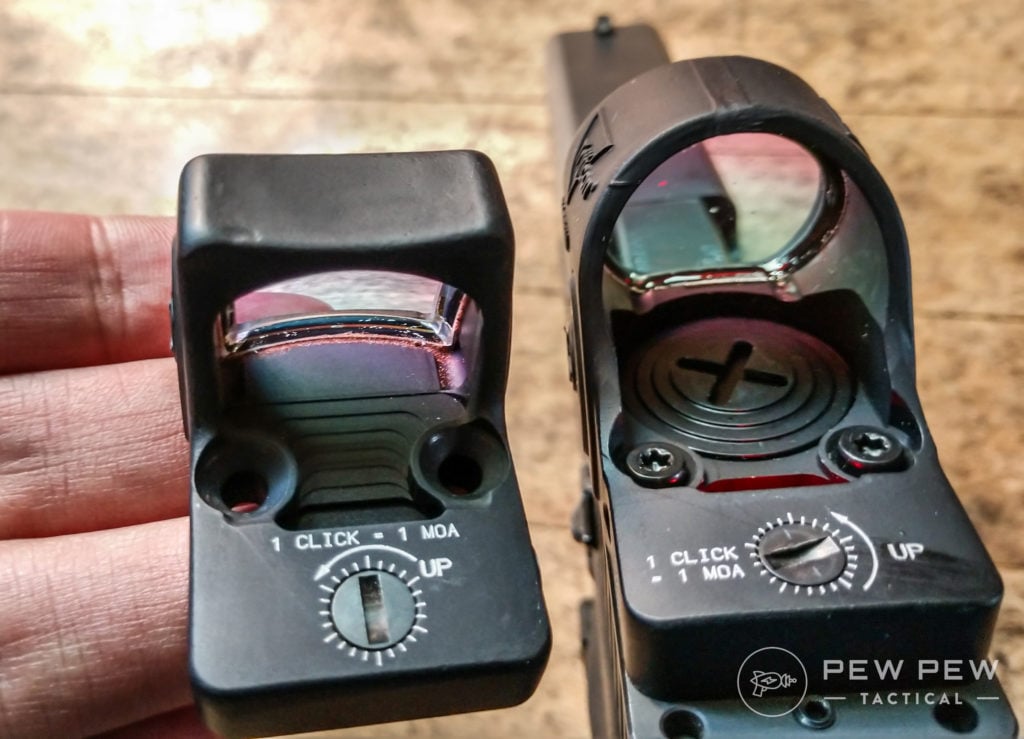
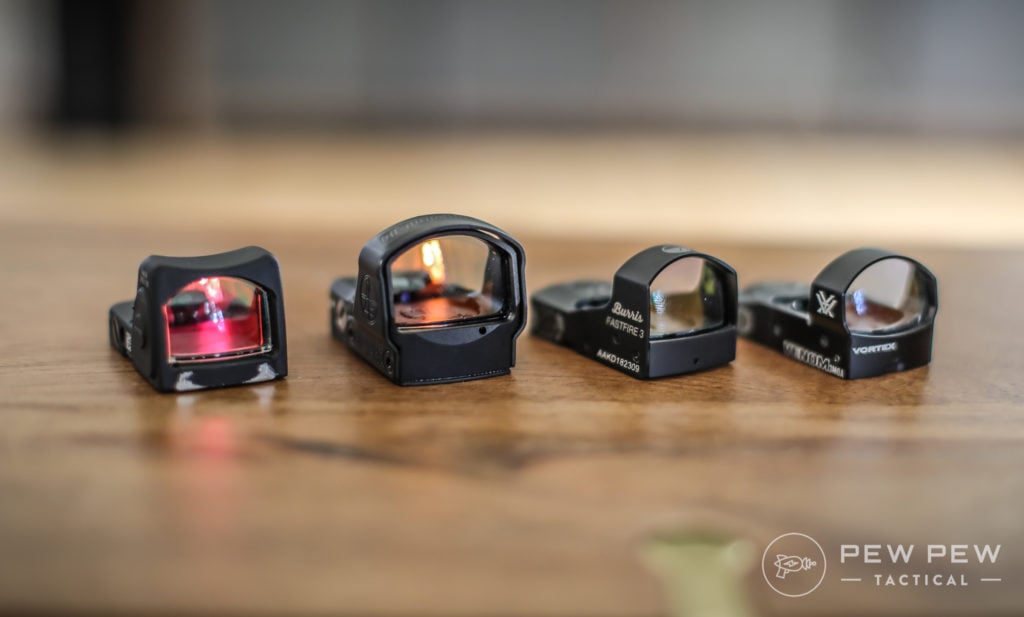
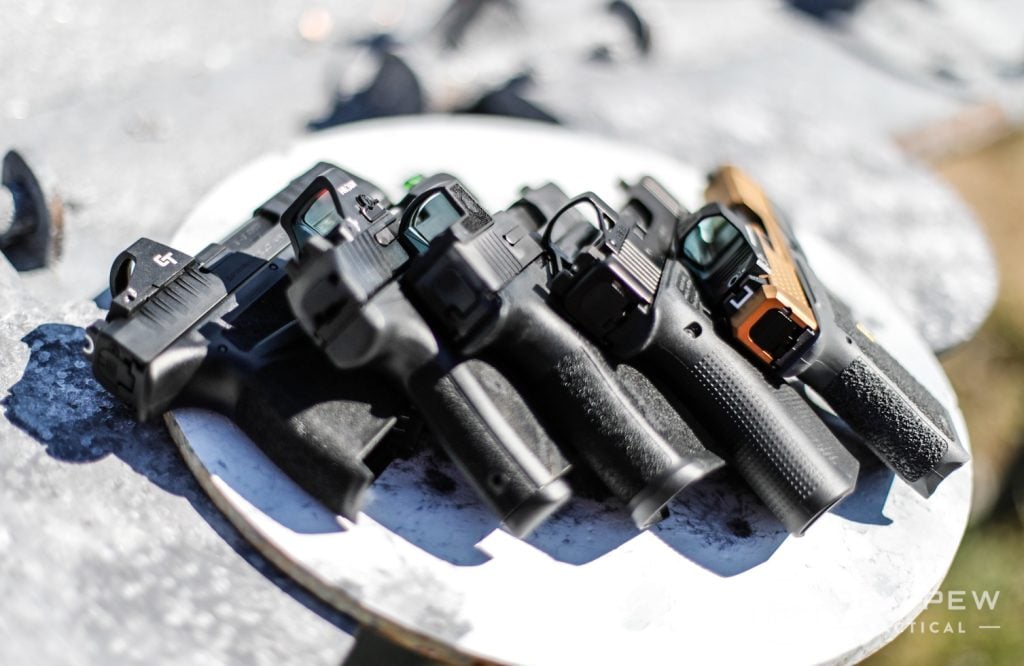
Enclosed vs. Open Emitter
Pistol red dots come in two varieties, enclosed and open emitters. Open emitters are the most common and the standard, so to speak.

Optics like the Trijicon RMR, Leupold DPP, and Holosun 507C are open emitters. This means the emitter that projects the dot is exposed to rain, snow, dirt, debris, or whatever can get between the emitter and lens.
While it is rare for debris to obscure the emitter under natural circumstances, it is possible.
Open emitters use a single lens which is typically clearer and distorts the sight picture less. Also, most open emitter optics are smaller and lighter than enclosed emitters.
Prices accurate at time of writing
Prices accurate at time of writing
Enclosed emitters offer more durability in the form of two lenses and a hood that keeps everything covered. This protects the emitter but tends to make the optics a little heavier and larger.
The choice between these two types of sights will come down to budget and use case. For most people, open emitters will usually be clearer and often cheaper, while those looking for extreme use durability might consider enclosed emitters.
Prices accurate at time of writing
Prices accurate at time of writing
Final Thoughts
Before we go, remember that training is always more important than your tools and gadgets.
Having a tool and not knowing how to use it properly is a fool’s errand, and I recommend looking for a red dot-oriented class if you can.
Sentinel Concepts and Modern Samurai Project both offer classes that focus on using a red dot on a handgun in a defensive manner.
Whether you are into them or not, red dots are taking the handgun world by storm, so let us know what you think of them in the comments below! Interested in red dots but don’t have one yet? Check out our article on the 12 Best Pistol Red Dot Sights!
The post Pistol Red Dot Training: Beginner’s Guide appeared first on Pew Pew Tactical.