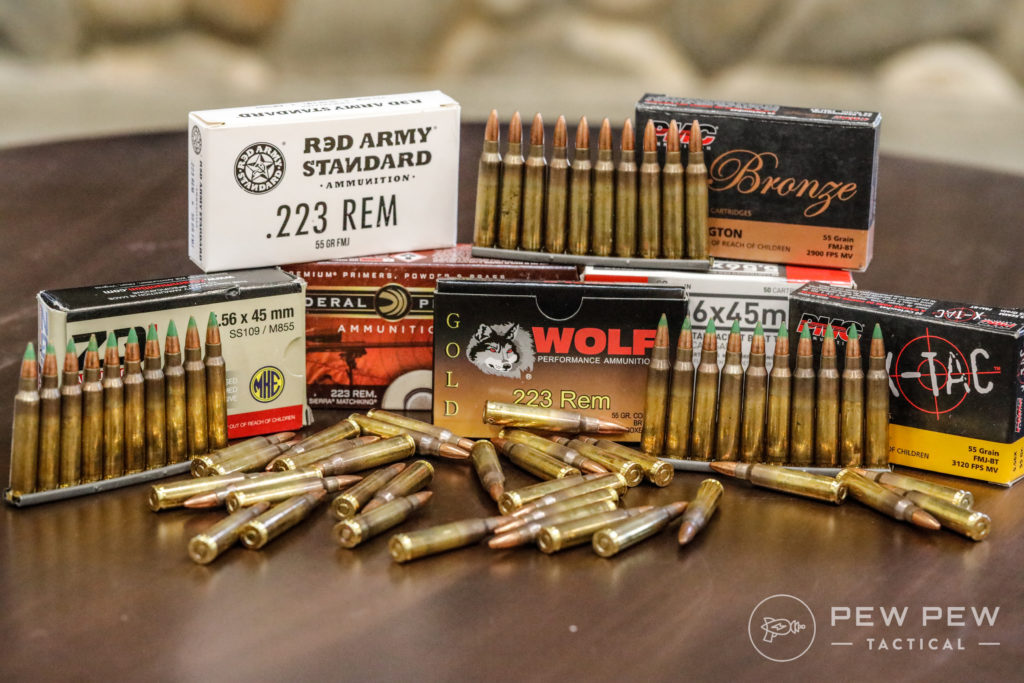
2020 and 2021 have been banger years, huh? Twenty million new gun owners, record-high sales of firearms and ammunition, and the worst ammo drought we’ve seen since 2012.
It’s been fun, but not really.
Ammo droughts come and go, but training is continuous.
Keeping skills sharp can prove a serious challenge when ammo is tough to find and often quite expensive.
We can’t fully abandon live fire, but we can focus on efficiency in our training.
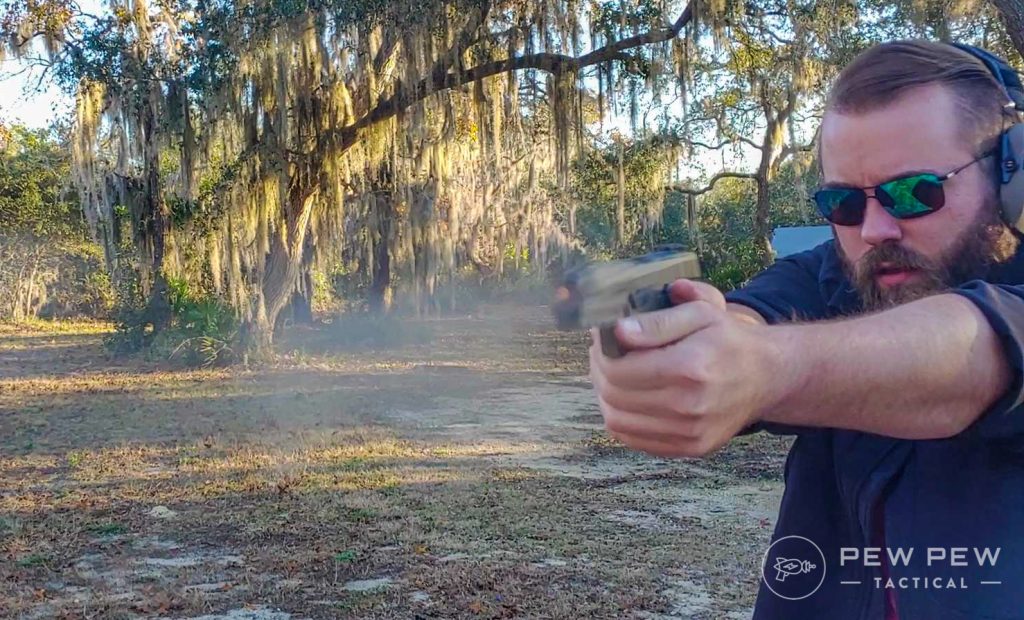
As such, I’ve put together seven drills I use to stay sharp and focus on getting the most out of my training without destroying my ammo stash.
So read up on what you can do to keep sharp – drought or not.
Table of Contents
Loading…
What You’ll Need
Most of these drills are pretty simple in terms of what you need on hand; but it’s good to have at least the following:
- Handgun or rifle
- Holster
- Ammo (50 rounds or less)
- Ear and eye protection
- Spare Magazines
- Targets
Best Low Round Count Drills & Exercises
1. Dot Torture
I’ve written more about my love for Dot Torture than any other drill. I find it to be one of the best for both new and experienced shooters since it requires very little to complete logistically.
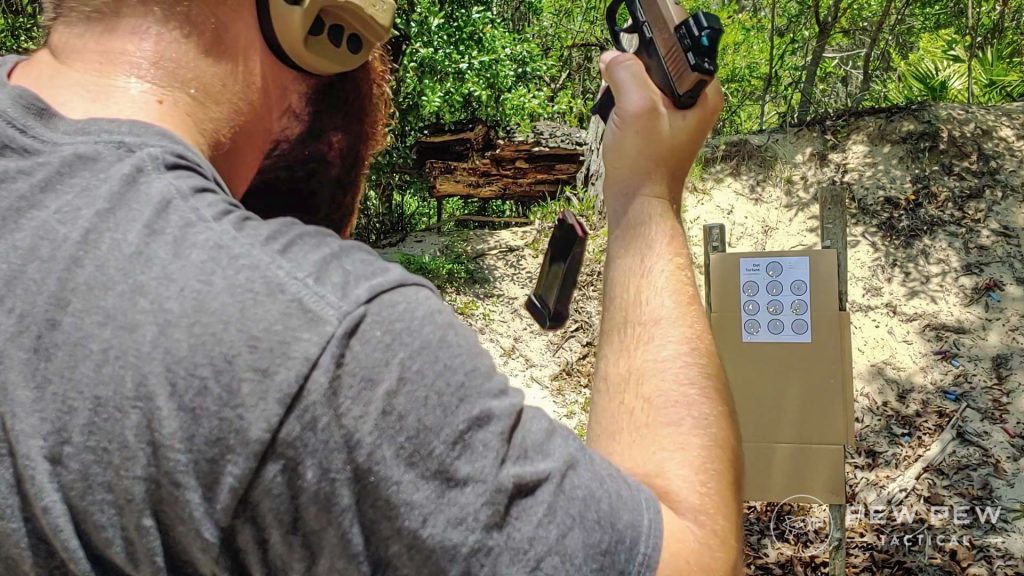
We need a handgun, two magazines, 50 rounds of ammo, a holster, a spare magazine carrier, and a free printable target. (You can get a free target by signing up for our newsletter. Just click the banner at the top of the page.)
Distance and time constraints are up to each shooter, but I suggest starting at 3-yards and working your way outwards.
Dot Torture utilizes a target made up of 10 circles measuring 2-inches.
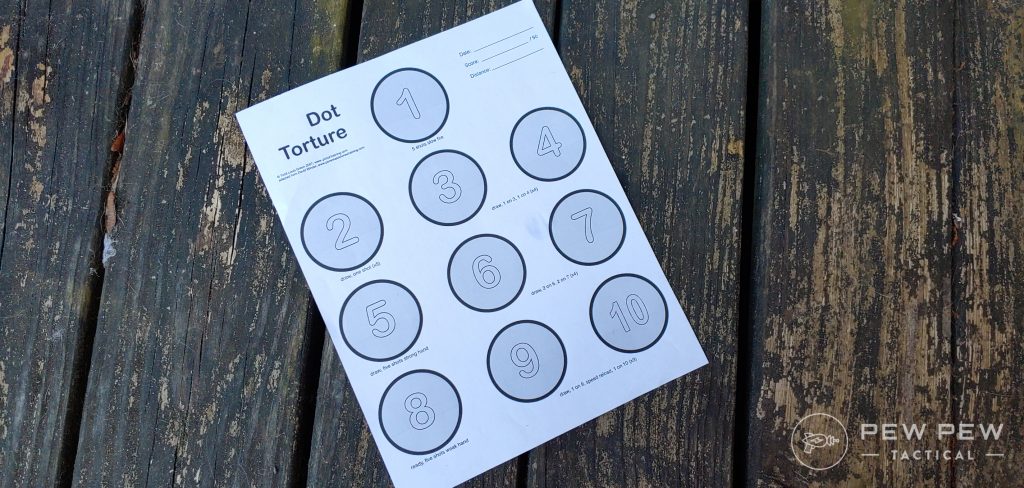
Each circle offers a specific assignment, from shooting slow fire to drawing to one-handed shooting, reloads, and more.
Dot Torture works a little bit of everything and requires a single box of pistol ammunition.
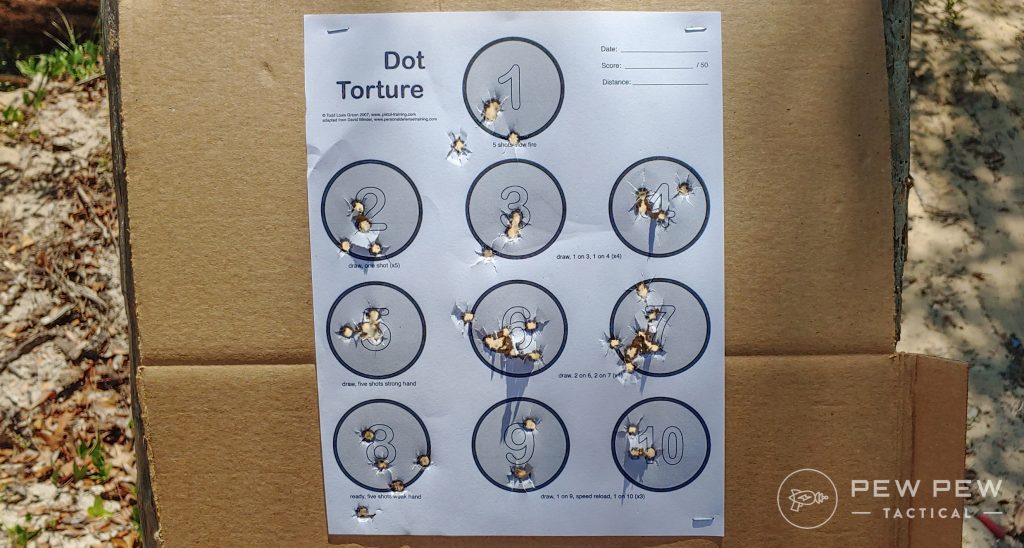
It’s an excellent exercise and will always be a mainstay in my training regimen.
You can go as fast or slow as you’d like and integrate distance and timers to make it a bit harder when necessary.
2. iHack
Trapped at an indoor range that doesn’t allow drawing? Then the iHack is for you.
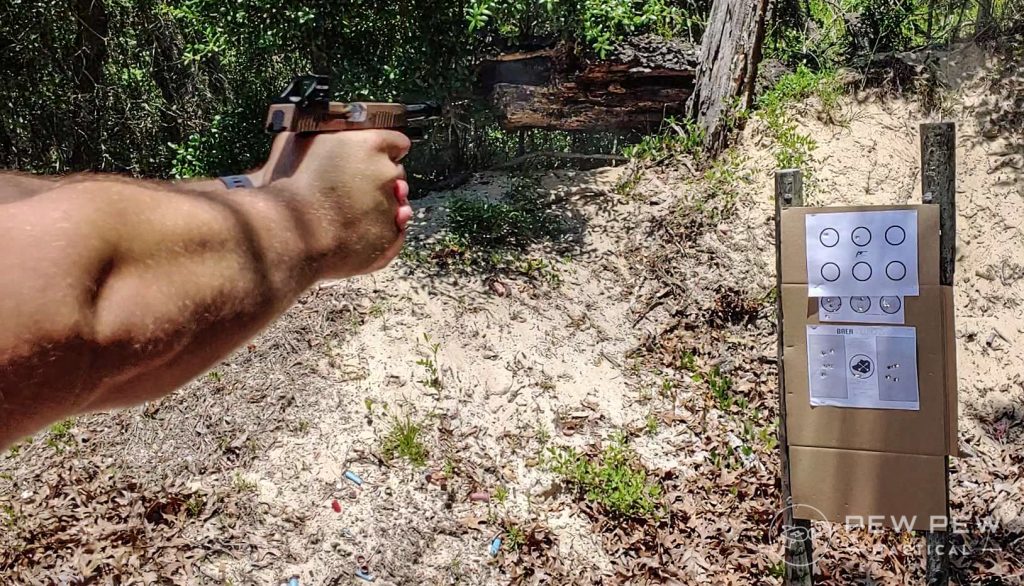
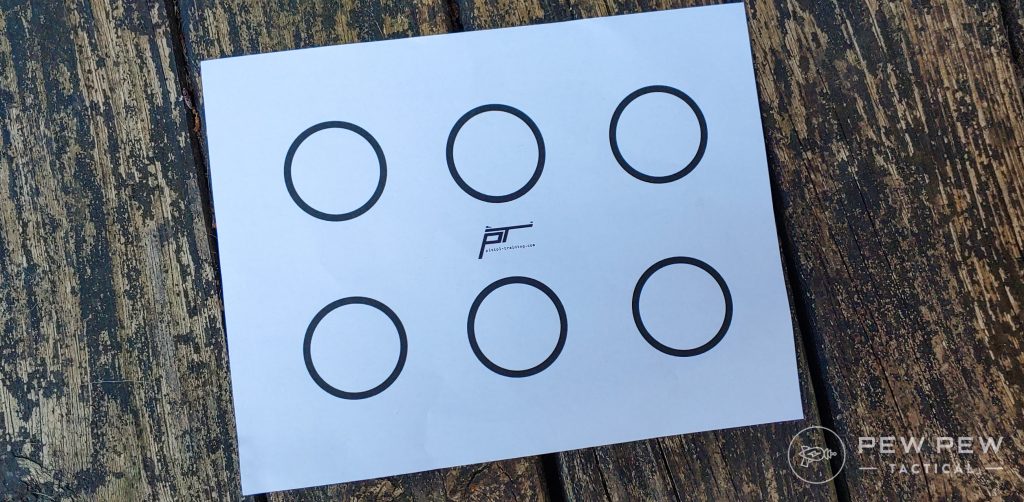
It requires nine rounds per run, a free printable target, and a handgun, of course. The target comprises six small circles, and you’ll use three circles for each run.
The iHack modifies the Hackathorn headshot standards for an indoor range and requires a single target, no drawing, and a lot of simplicity.
Start at 5-yards, set a par time for three seconds, and obtain a standard ready position.
- String 1 – At the beep, fire one round in each circle, going from left to right in three seconds.
- String 2 – At the beep, fire one round in each circle, going from right to left in three seconds.
- String 3 – At the beep, fire one round in each circle, starting with the center dot. Then the shooter chooses the order to shoot the left and right dots in three seconds.
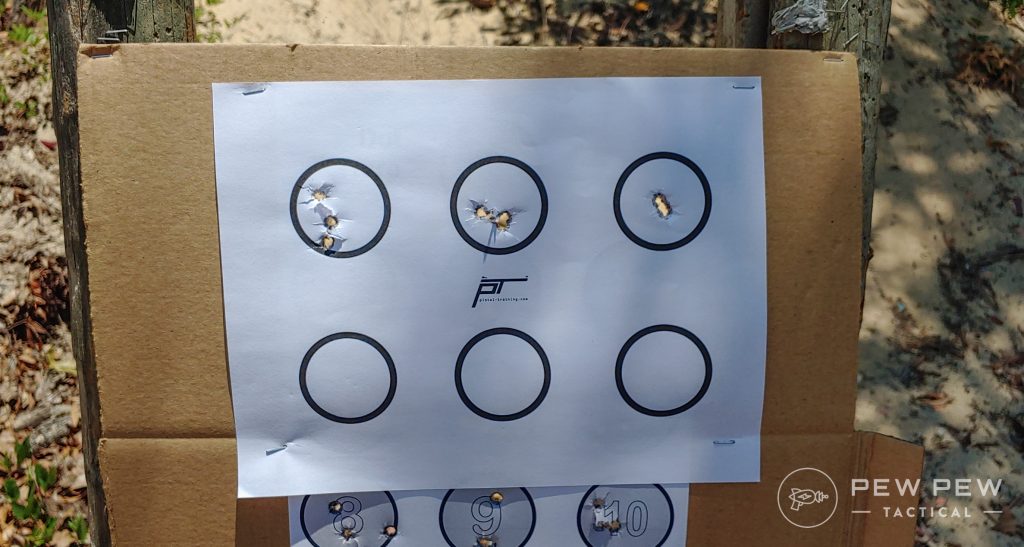
A passing score is seven out of nine. Anything fired after the three seconds counts as a miss.
This simple drill is quite fun and challenging, plus it’s allowed at most ranges.
It trains trigger control, sight alignment, accuracy, and your ability to transition targets, all under the stress of a timer.
3. 10-10-10
The 10-10-10 drill acts as both a test of skill and a drill to improve.
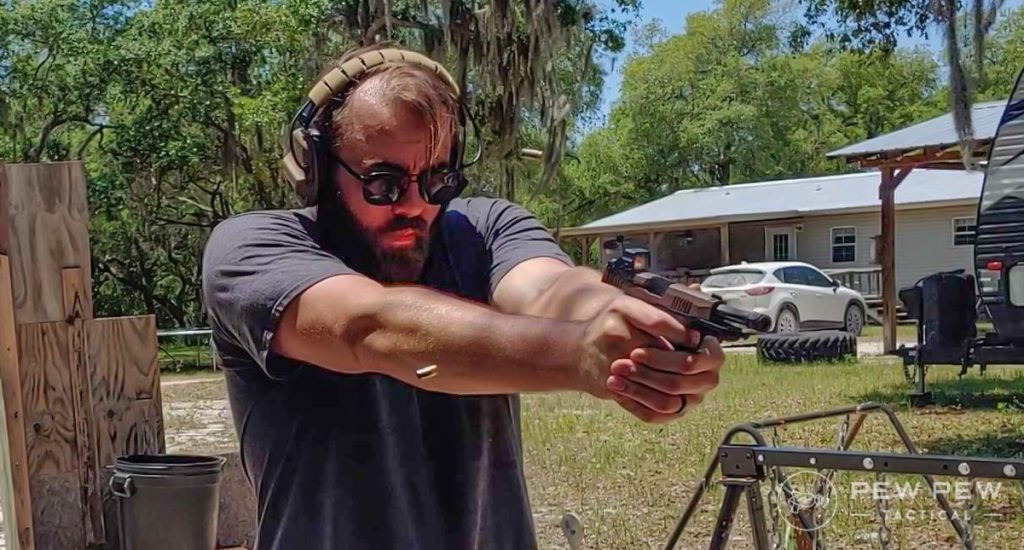
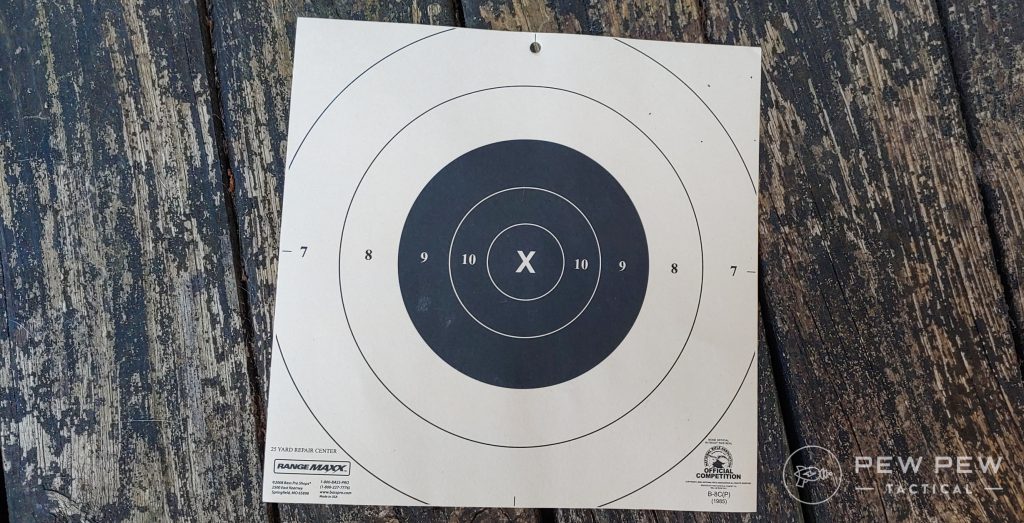
Shooters will fire 10 shots at 10-yards in 10 seconds at a B8 target. All shots must land in the black of the B8 target.
If you are unfamiliar, the black of a B8 target is the 9, 10, and X rings.
You can also do this drill at an indoor range with strict rules because it doesn’t require movement, drawing, or any other unapproved movements.
It’s a challenge to achieve. And as a drill provides every metric, you need to measure performance — range, round count, specific target, and a time limit.
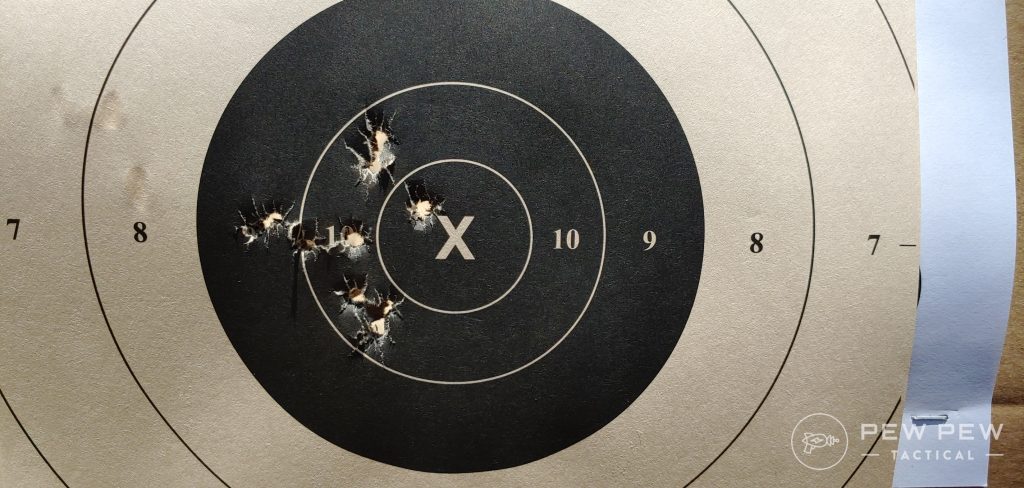
If you do get a little too good at it, try shortening the par time, or if allowable, add a movement, a draw, or something similar.
But if it’s too hard, decrease the distance at first, then slowly increase the distance as you get better.
4. VTAC 1-5
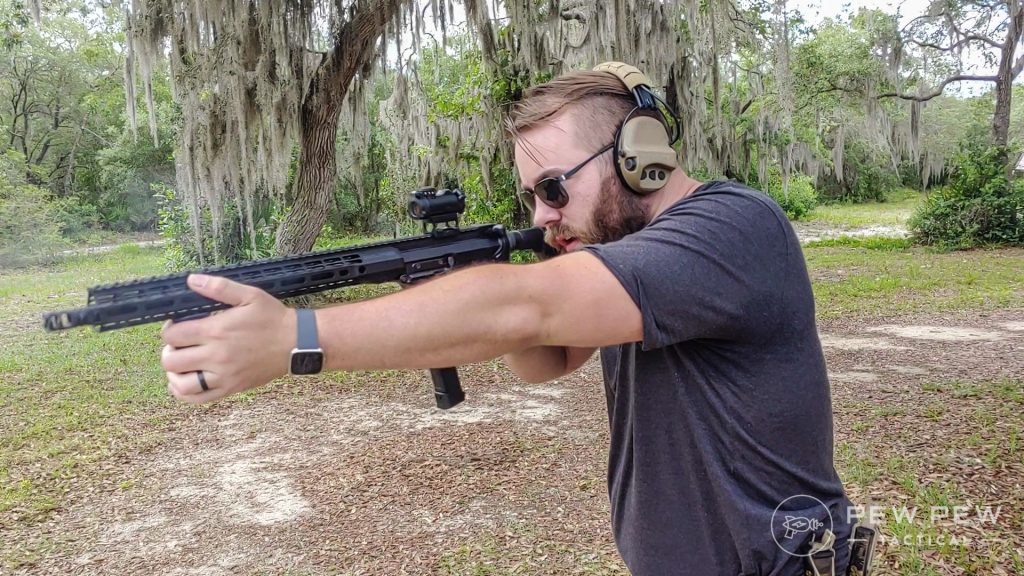
Kyle Lamb designed the VTAC 1-5 drill primarily for rifles, but it can also be adapted for handguns.
The drill requires 15 rounds of ammunition, a rifle or handgun, and three man-sized targets.
Place the targets roughly a target length apart. You’ll start 5-yards from the targets, centered on the middle target.
On the beep, you’ll start firing from left to right.
One round in Target 1, two rounds into Target 2, and three rounds into Target 3. Then transition back to Target 2 and fire four rounds, move to Target 1, and fire five rounds to end the drill.
Passing time is under five seconds with all A-zone hits.
A-zone could be an IPSC target or generally vital zone target.
The VTAC 1-5 drill works your trigger control, speed, and ability to transition between targets.
Plus, this drill forces you to think and stretch your legs beyond the ole double-tap and move on.
5. Baer Solutions Standards
The Baer Solutions Standards comes from the mind of a Green Beret, and this drill can be shot with a rifle or handgun.
It requires a free, printable target and 13 rounds for each run.
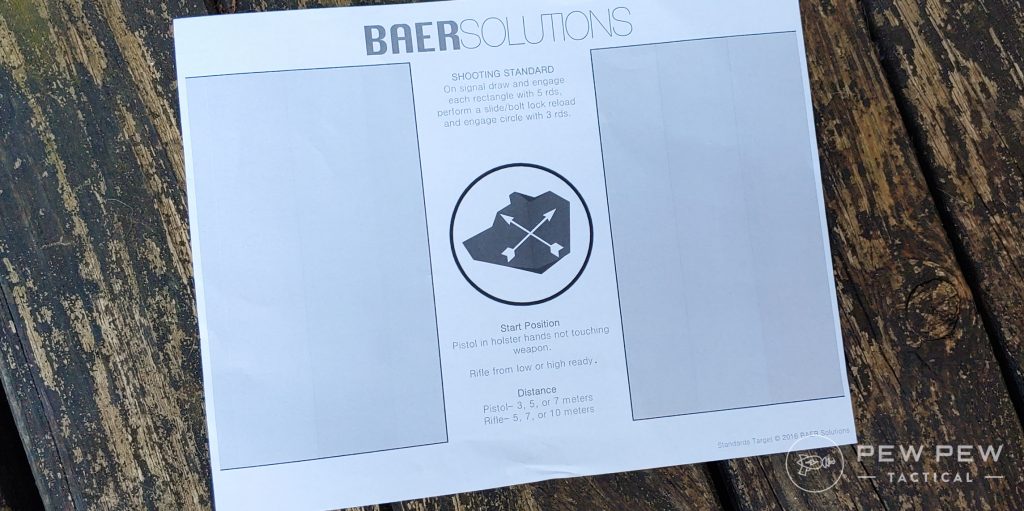
You’ll need three magazines, two spare magazine holders, and a holster for a handgun.
Load one magazine with 10 rounds, one with three rounds, and the third magazine can be full or just loaded with one round.
You have nine seconds to complete the drill — distance varies depending on your gun and skill level.
This isn’t a drill you run a dozen times to pass, but one you run at the beginning of your training day.
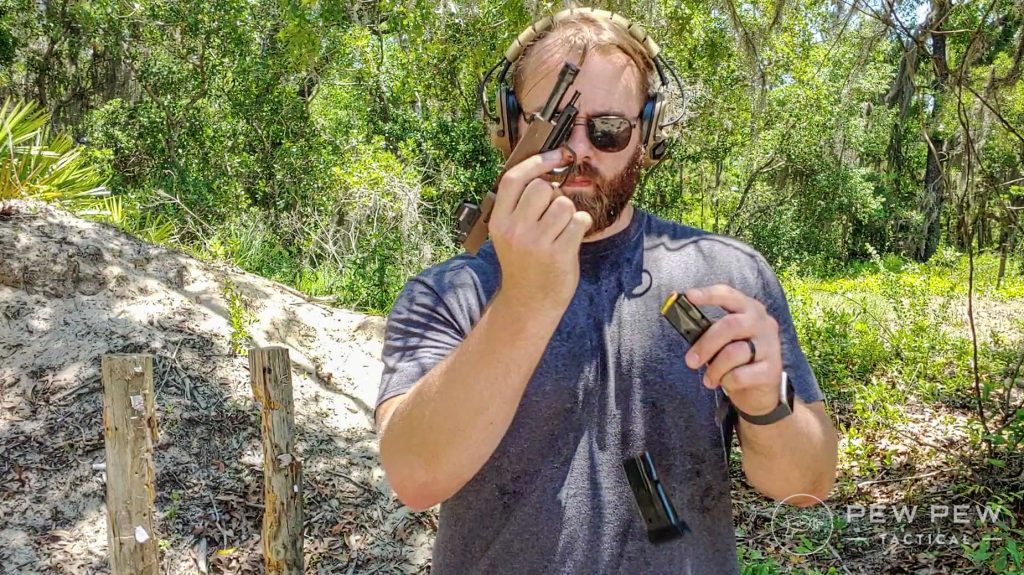
With a handgun, start with your weapon holstered. You can shoot at 3-, 5-, or 7-meters, depending on your skill level.
Using a rifle, start at the low ready. With a rifle, your distance can vary from 5-, 7-, or 10-meters, depending on skill level.
At the beep, draw and fire five rounds into the left rectangle, then transition to the right and fire five rounds.
Once empty, reload and fire three rounds into the circle in the center of the target. Commit a reload once more with your third magazine.
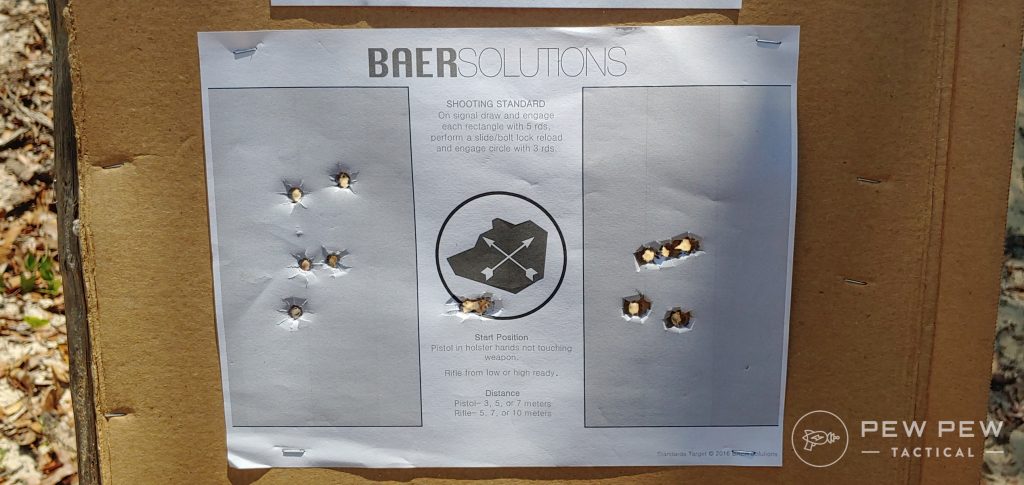
After the third reload, the drill is over, and you fire no additional rounds.
The Baer Solutions Standards drill provides plenty of challenges, with small and smaller targets.
You gotta be fast, safe, and efficient in your draw and trigger manipulation. It’s fun, but it’s tough.
6. Failure to Stop and Box Drill
The Failure to Stop and Box drills are very closely related, but the Failure to Stop functions as the good ole two to the chest and one to the head.
On the other hand, the Box drill serves as just a Failure to Stop Drill but with two targets.
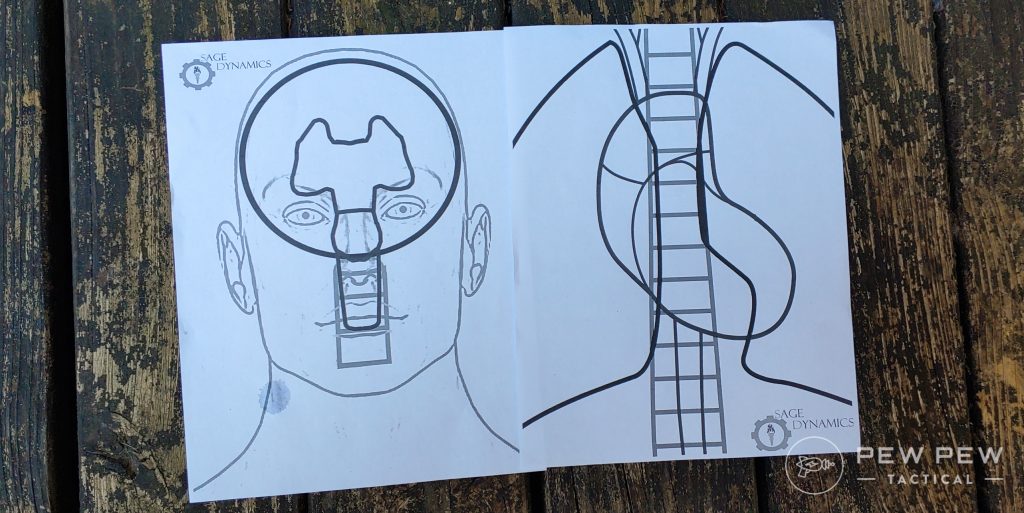
These drills can be done with a rifle or pistol at various ranges.
For beginners, I suggest 5-yards with a handgun and 10-yards with a rifle.
Failure to Stop will require three rounds, while Box requires six rounds.
You’ll need a target with a clearly designated head and chest area. I utilize the free Sage Dynamics targets.
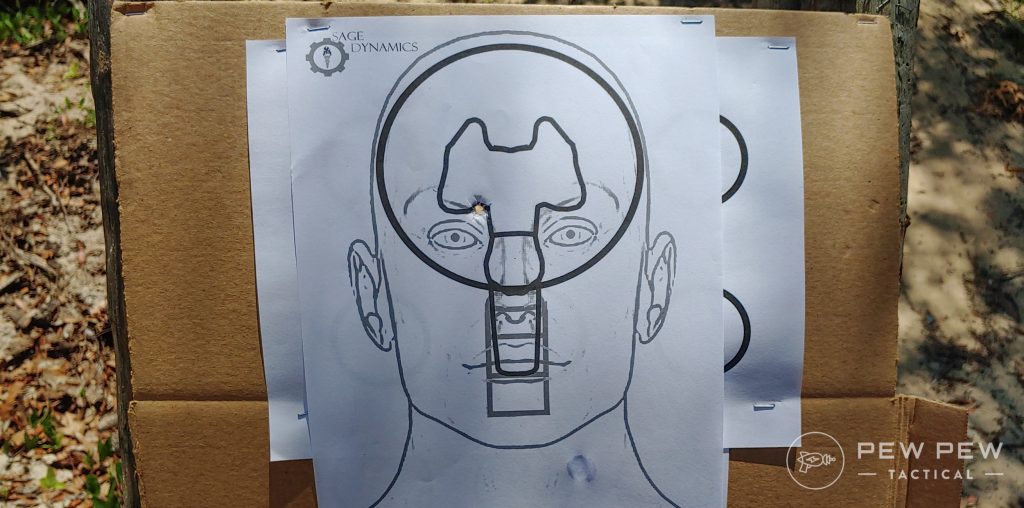
For beginners, start in the low ready with a handgun. Experienced shooters can start with the gun concealed. A rifle can start in the low ready for all shooters.
The Failure to Stop Drill is very simple.
Fire a double tap or controlled pair into the chest of the target. Then transition to the head and make a well-aimed headshot.
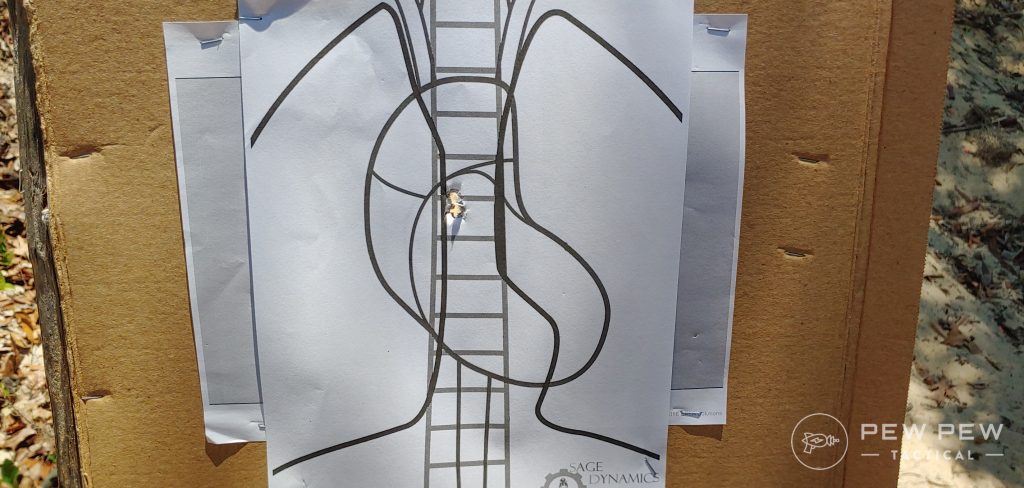
The Box Drill requires two targets, 1-yard apart.
Start with either target and fire two rounds into the chest of your first target. Then transition to the second target and fire two shots into the chest of the target.
Remain on the second target and make a well-aimed headshot. From there, transition back to target one and make a well-aimed headshot.
It should take no more than three seconds to achieve a Failure to Stop Drill and five seconds for a Box Drill.
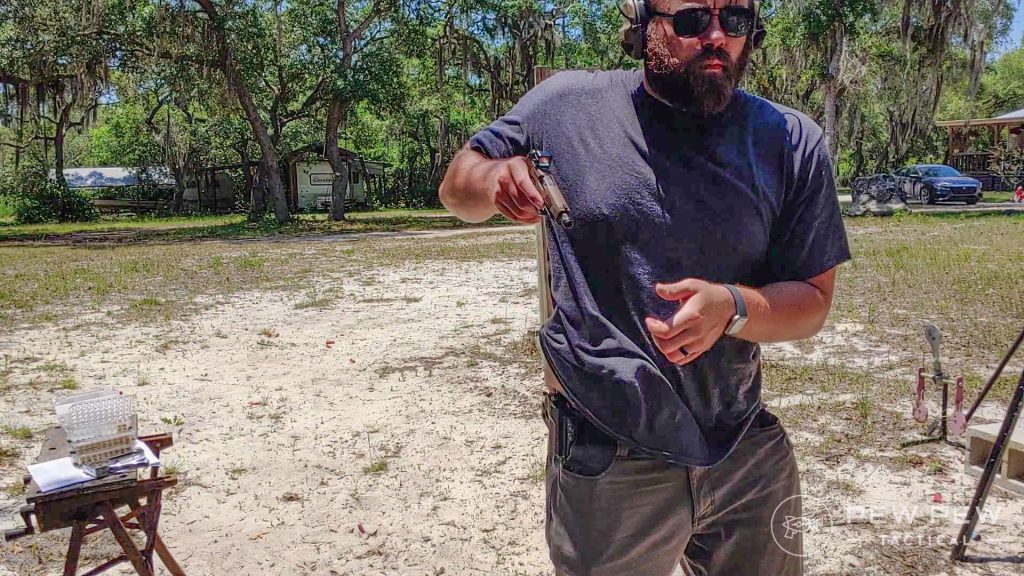
Very simple, but very handy to learn.
You focus on realistic shooting, transitions on targets, trigger control, and you do so under the stress of a timer.
It’s a great confidence-building drill that’s simplistic to understand and kind of fun to run.
7. Sage Dynamics Eleanor Drill
Think of the Eleanor Drill as a Failure to Stop but in reverse. This drill is much harder and designed for more experienced shooters.
You can use both a rifle and a handgun, and again, you can print a free target at Sage Dynamics.
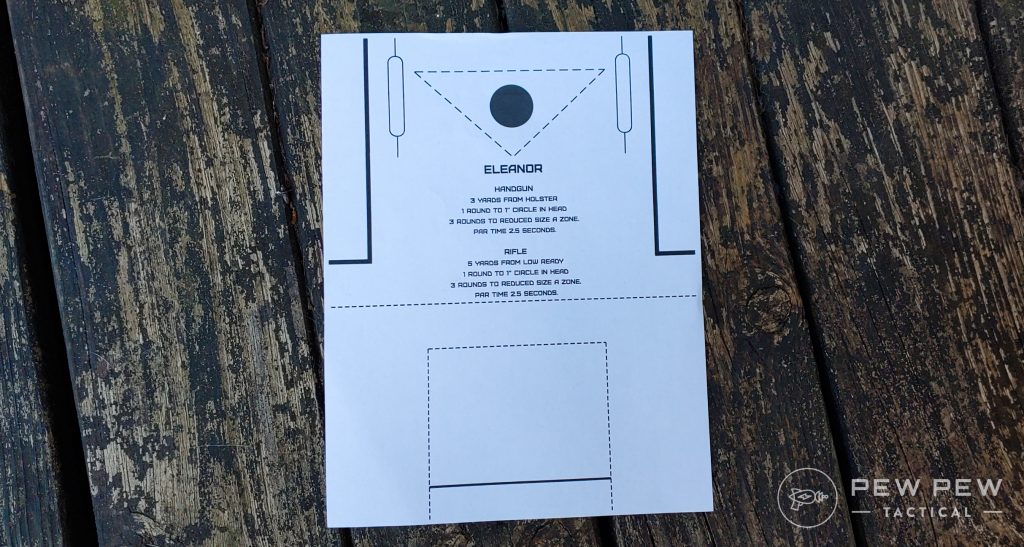
The target features a reduced-sized A-zone for the torso and a 1-inch circle for the headshot.
For a handgun, you fire the drill at 3-yards, and for a rifle, you fire the drill at 5-yards. You’ll need four rounds for each run.
Handguns start holstered while rifles are at the low ready. You have a par time of 2.5 seconds.
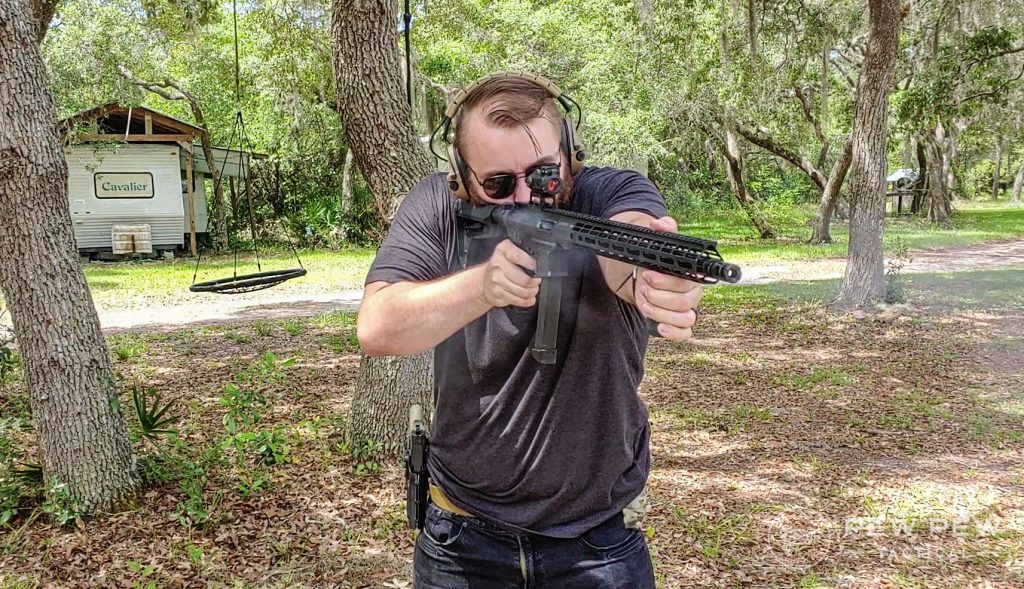
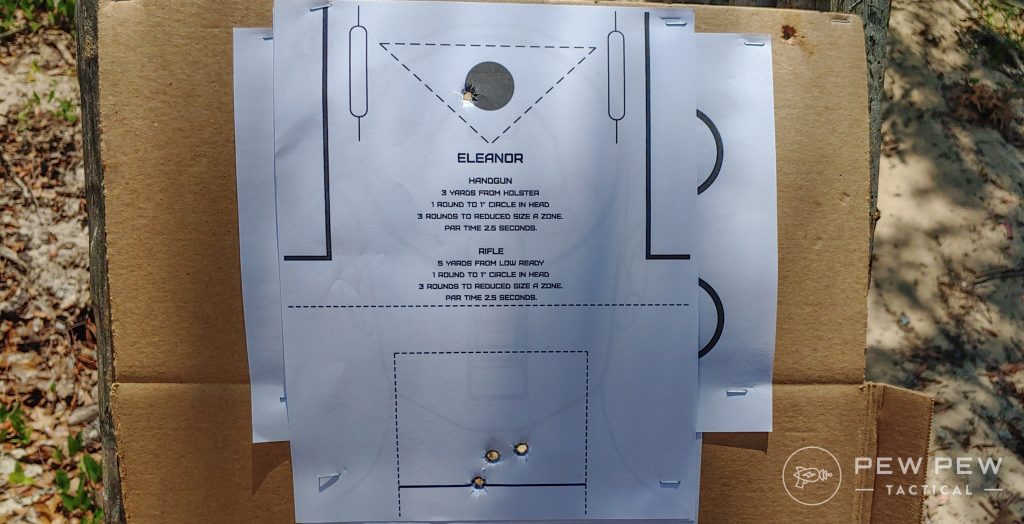
Shooters fire one well-aimed round into the 1-inch circle, then transition to the reduced size A-zone and fire three rounds.
The Eleanor drill will challenge you – it’s a serious drill that requires a good bit of practice and skill to accomplish correctly.
But it stresses accuracy and speed – and both are needed to win a gunfight.
Don’t Forget Dry Fire
Those are all live-fire drills, but you can dry fire them all as well, more or less.
At the very least, you can walk through the motions, and I suggest doing so.
When ammo is tough to find, it makes a lot of sense to walk your way through each of these drills before firing off rounds.
That’ll save you rounds and also improve your performance.
Plus, it adds a degree of safety to the drills — especially those that utilize movement.
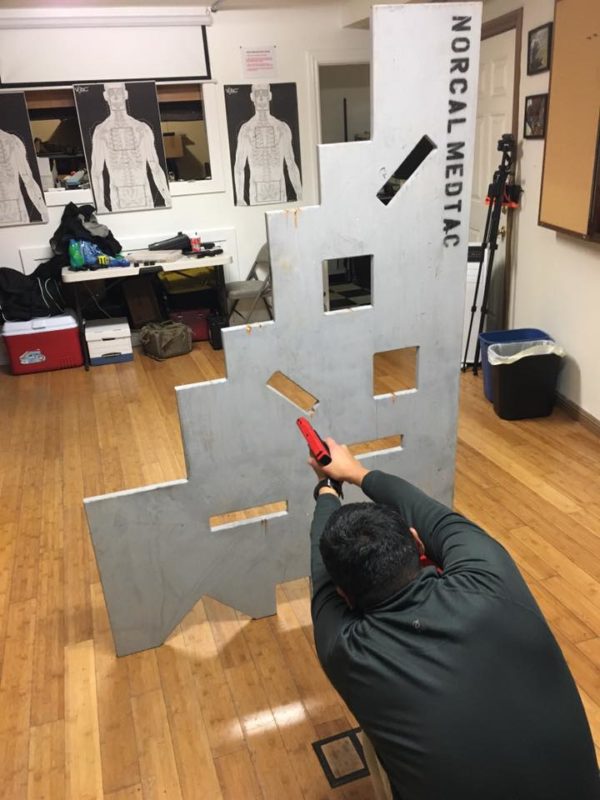
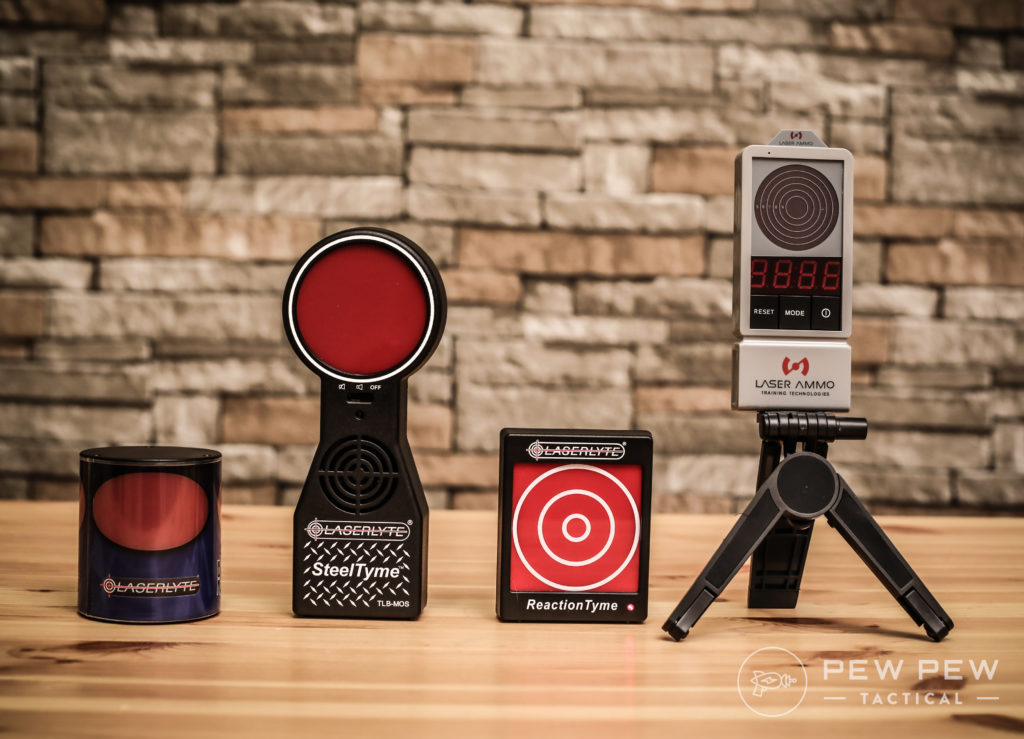
For targets and laser cartridges for a more effective dry fire experience, check out our recommendations for the Best Laser Targets & Ammo for Dry Fire Training.
Conclusion
Just because we’re still reeling from the effects of an ammo shortage doesn’t mean your training regimen has to suffer.
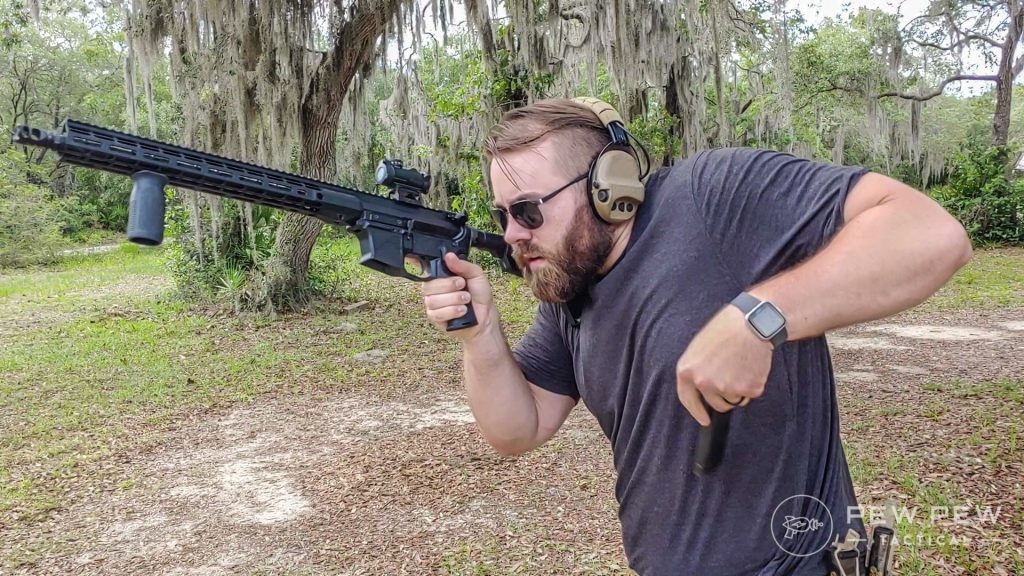
Use these drills, paired with dry fire at home to perfect and hone your skills.
What is your favorite low-round count training drill? Let us know below! Need some more tips on dry fire training? Check out our essential Dry Fire Guide.
The post Low Round Count Drills: Ammo Shortage Training [Guide] appeared first on Pew Pew Tactical.
